A Mural Comes to Life!

Nesting Story began with my children’s murals and bloomed from there.  I love meeting with a new client and hearing their exciting ideas and plans for their child’s room.  Sometimes the child is older and has a lot of great ideas to add, other times the little one hasn’t arrived yet and I am meeting with very excited parents-to-be.  Whatever the case may be and whoever my little client is, there is a lot of thought and love that goes into each mural I paint.  I wanted to show how the process works and maybe inspire you along the way!

Step 1: The Initial Consultation

I like to meet with potential clients in person whenever possible.  It gives me a better feel as to what they have been thinking about and it is very helpful to see the space.  Any kind of inspirational images that can be brought to this meeting is also very helpful.  From this point I can create the concept sketch.

Step 2: The Concept Sketch

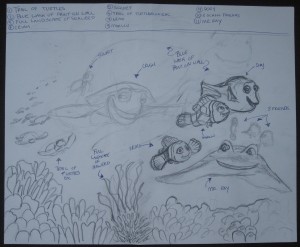
I take all of the elements and ideas that are going into the mural and create a concept sketch.  Each Item is named and numbered.

IMG_3915


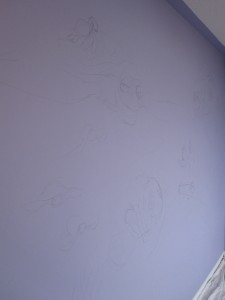
Step 3: Sketch and Layout on Walls

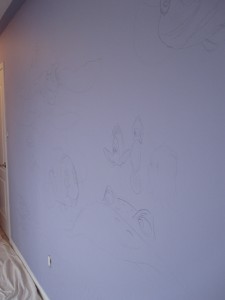
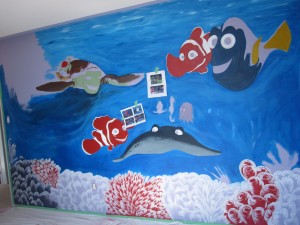
Once the concept sketch has been approved it is time to start.  Most of the time the walls need to be painted a base colour.  This needs to be done before the mural can start.  I would be happy to recommend a painter for this process.  Using small inspirational images and the concept sketch I then freehand draw the mural on to the wall.  Once the sketch on the wall has been approved it is time to start painting.

IMG_3840    IMG_3841  IMG_3843     IMG_3844


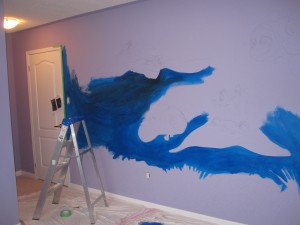
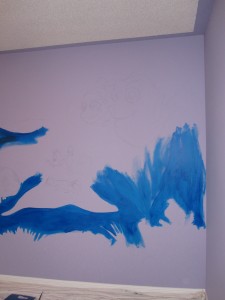
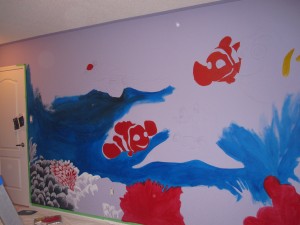
Step 4: Painting the Mural

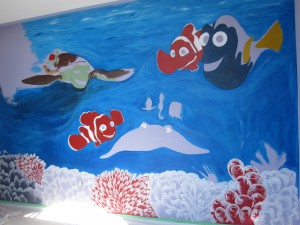
It is time to paint!  I use acrylic (not oil) based paints which dry quickly and do not give off fumes.  I usually like to get the overall colours on first and leave the details until the end.

IMG_3846    IMG_3845IMG_3847    IMG_3849IMG_3851 


Step 5: The Finished Product

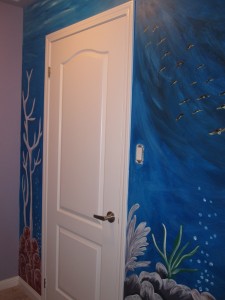
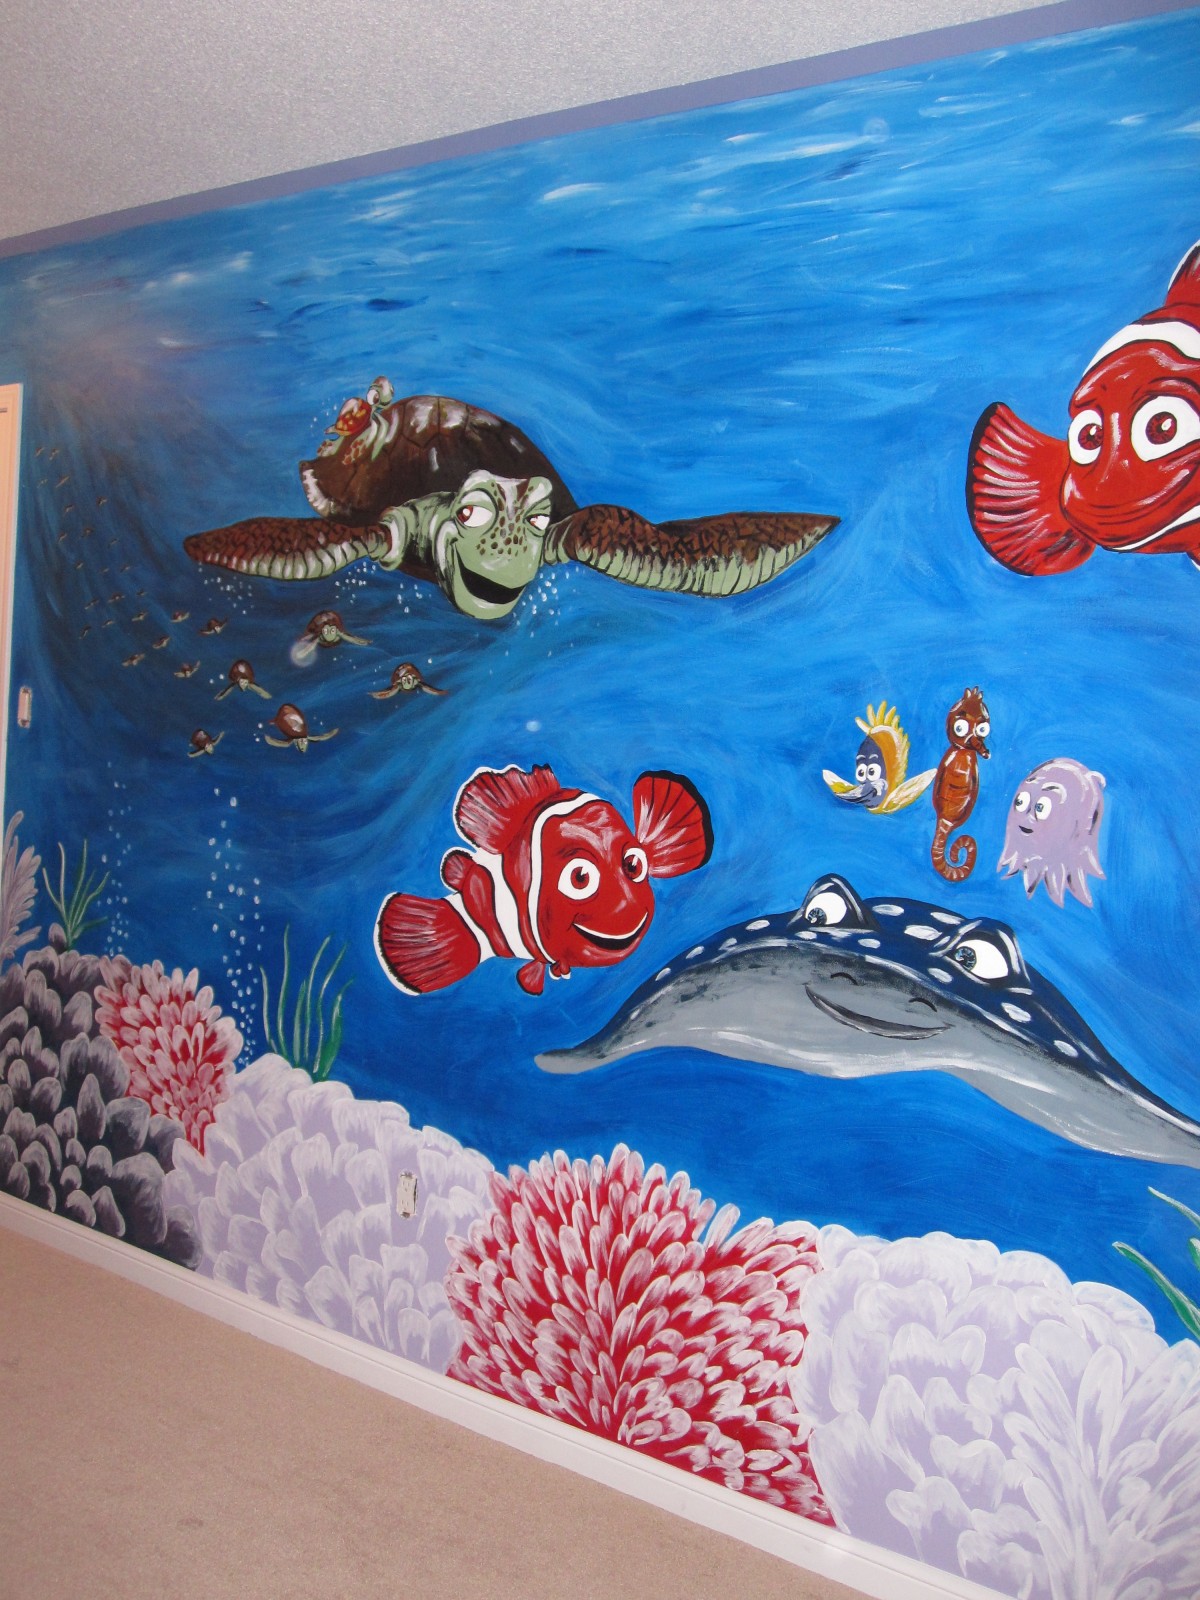
At the end I add the finishing touches including highlights and shadows.  Then… ta da!  The mural is done and ready for your little one to enjoy!
IMG_3861     IMG_3864IMG_3865     IMG_3867

Nurseries We Love!

One of the best sources for nursery design inspiration is Project Nursery.  I am constantly pinning nurseries from this website’s projects and thought I would share some of my favorites!

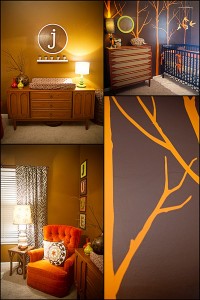
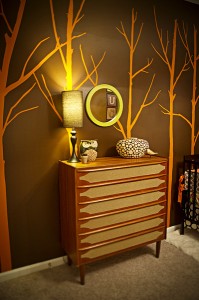
Jude’s Vintage Nursery

Jude 1    jude2    jude 3

I am obsessing about this nursery because of the retro and eclectic vibe it has going on. There is such a warmth to it and it could truly work for a boy or girl.  The fact that there are re-purposed pieces in this nursery inspires me to start checking out my local thrift shops.  Plus, I am loving the unexpected colours in this mural.  This nursery is by Ginny Phillips who is a very talented photographer and Etsy shop owner.  Check out Ginny’s work: www.ginnyphillipsphotography.com            http://www.etsy.com/shop/westeightythird


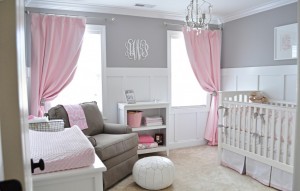
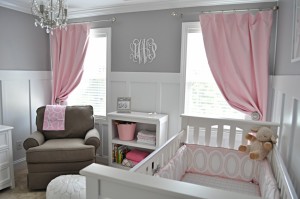
Ava’s Sweet Gray and Pink Nursery

ava 1    ava2

This nursery really works for me because it is girly and formal, yet clean and sophisticated.  I always appreciate it when I see a nursery design that isn’t themed and can grow up with a child without having to do much to the room.  The white paneling on the walls give a great relief to the grey and there is just the right amount of pink to soften the room and make it fit for a princess!  This nursery is by megandwade.  Check out their blog http://wadeupdate.blogspot.ca/


Eclectic Wood-Paneled Nursery

eclectic nursery 1     eclectic nursery 2

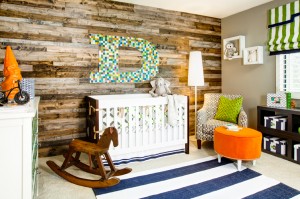
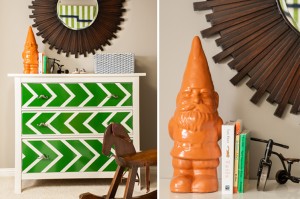
I think this is such a fun nursery (despite my phobia of garden gnomes).  Anytime I see reclaimed wood used in design I gravitate to it!  I LOVE the wood-paneled wall.  It adds texture and a natural element to the room that balances out all of the bold colours and large graphic prints.  This room also has a fantastic sense of humor with it’s touches of whimsy including the mustache hardware on the dresser and the… eeek… orange garden gnome.  This nursery is by and J Design Group.  Check out more of their stunning projects on their website: http://www.jandjdesigngroup.com/index.html


DIY – Beef Up Your Baseboards On A Budget

IMG_0127

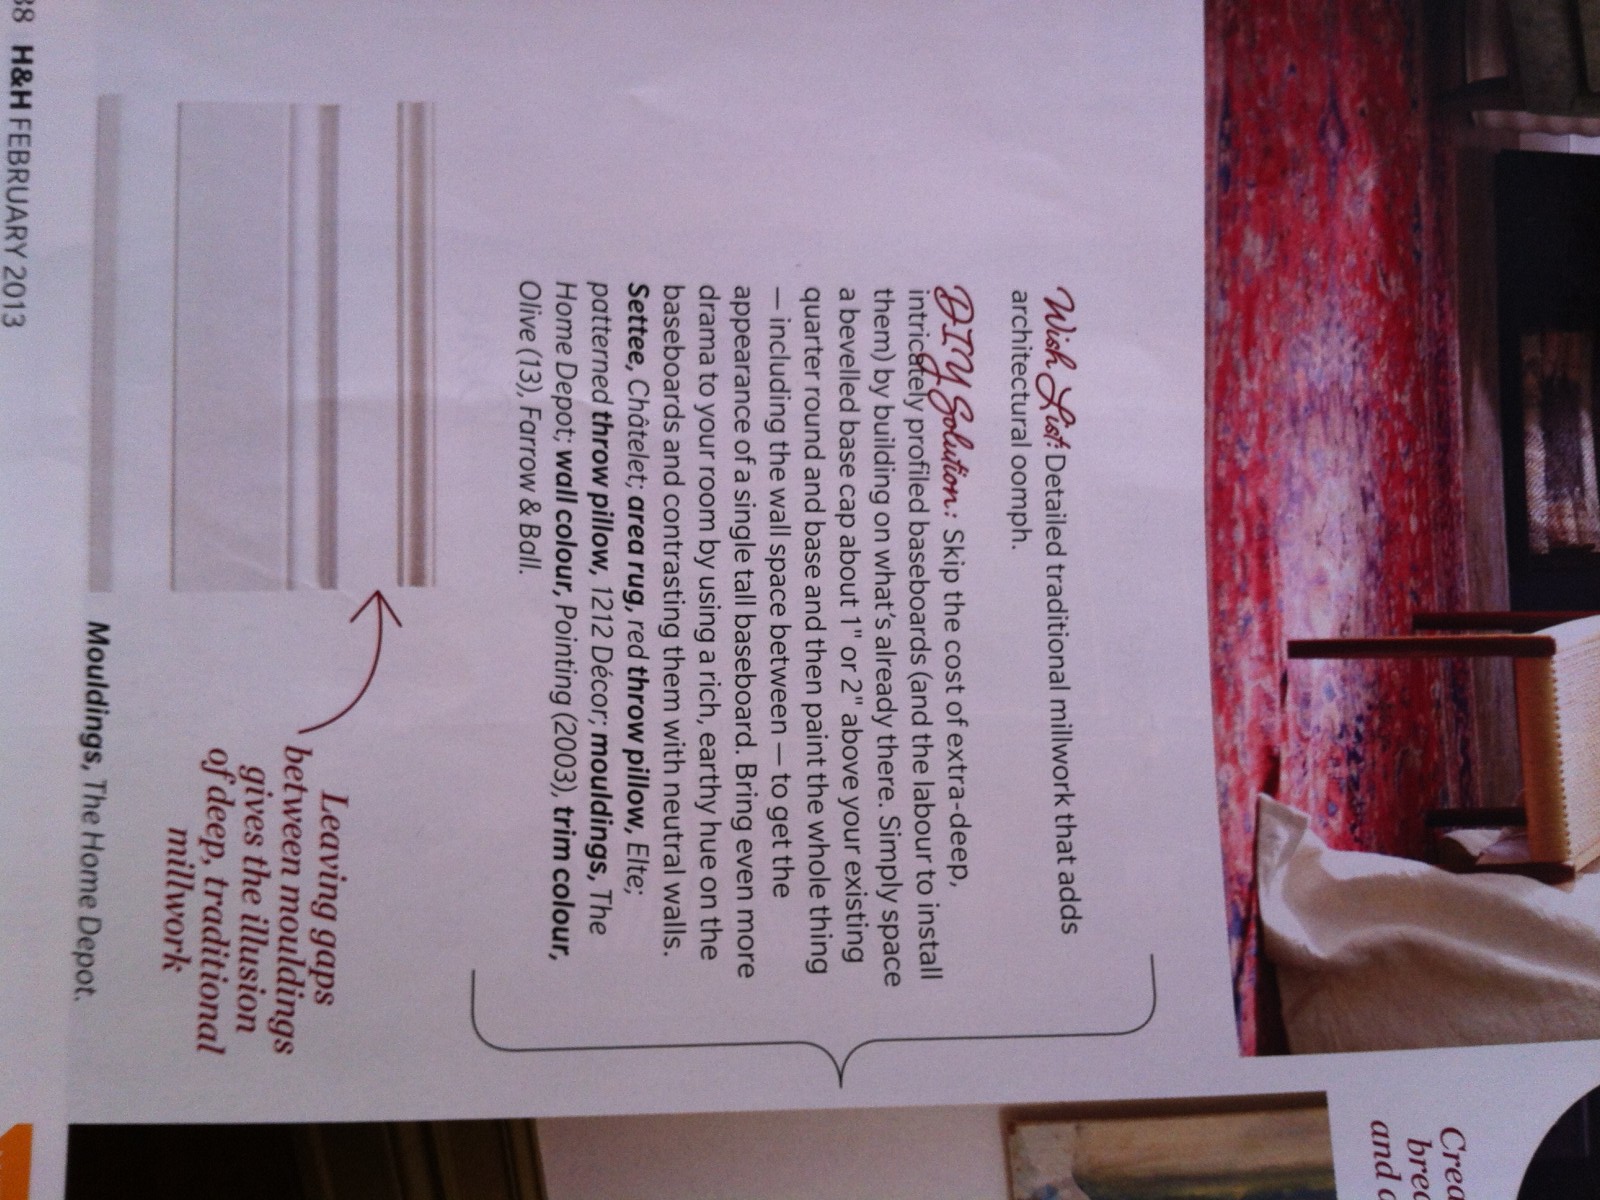
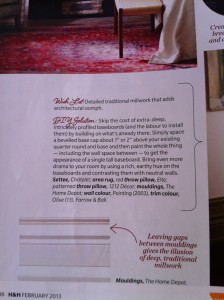
I saw this idea in the February 2013 Canadian House and Home magazine issue and thought it was so clever!  This is a fantastic way to beef up the baseboards in a nursery (or anywhere in your house) for very little cost.  This DIY idea gives the illusion of much higher baseboards.

IMG_0129

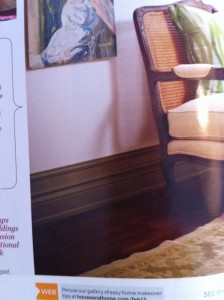
Simply build onto your existing baseboards by adding a bevelled base cap 1″ – 2″ above the baseboard. Then paint out the baseboard, wall gap and new trim piece all the same colour to give the appearance of tall baseboards.

IMG_0130

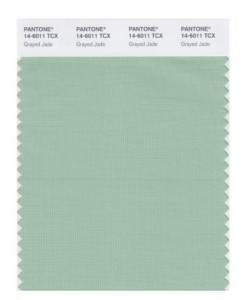
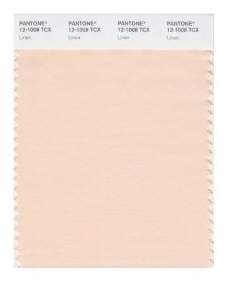
I also loved the idea of painting out your baseboards a rich contrast colour, but instead of using an earthy hue shown in the photo, I would suggest going for a soothing sophisticated pastel for a nursery.  Some of Pantone‘s 2013 Fashion Report’s colours would be perfect!  My favorites are Greyed Jade and Linen.

pantone greyed jade   Pantone-Linen

Chic Nursery Design Finds on a Budget

I think one of my favourite stores is Home Sense.  I get so excited as I walk through the doors just anticipating what treasures I might find!  Home Sense is a great place to find designer products for a fraction of the price.  You just need a keen eye and to go in often knowing that they get new shipments almost daily.  Here are some of my latest finds:

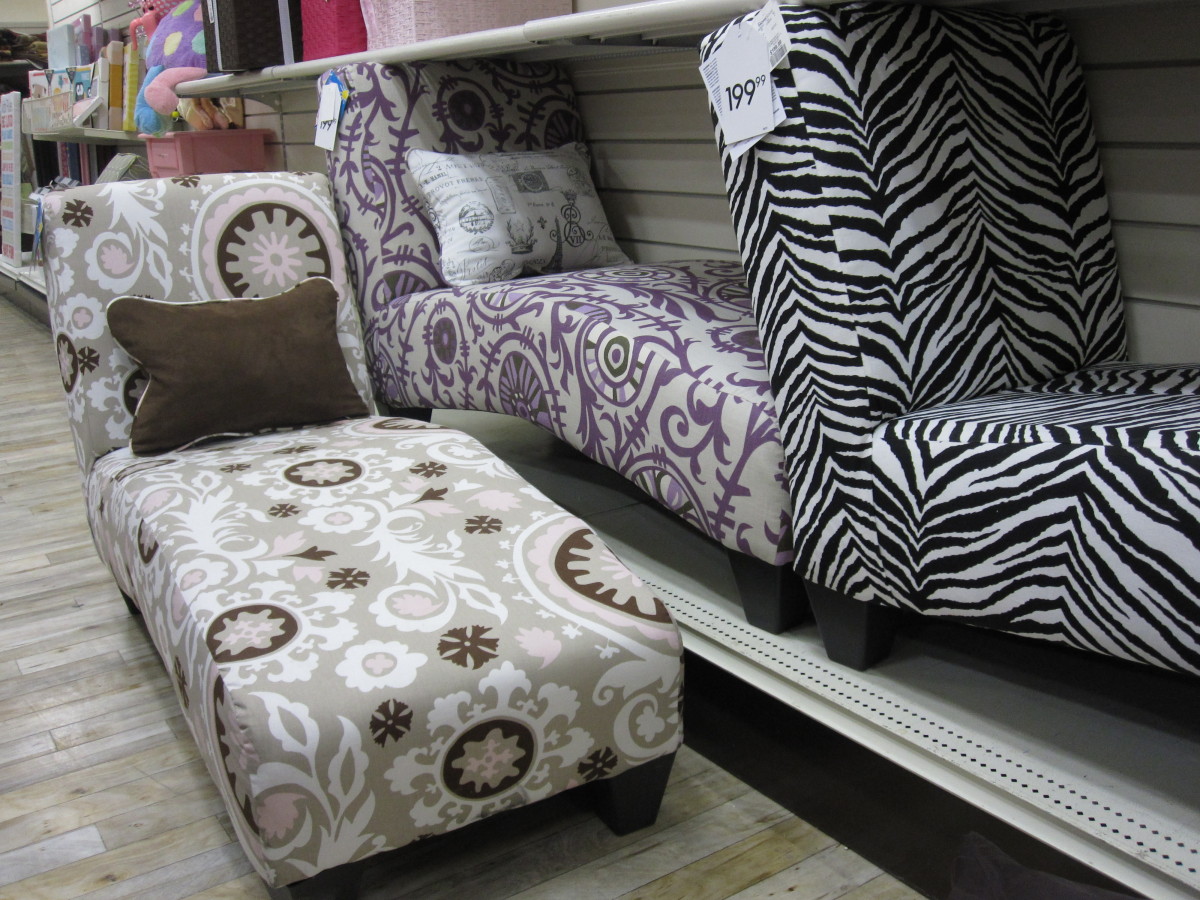
IMG_4890


A chaise instead of a glider?  Maybe not, but place one near a window and you have a sweet little reading nook.

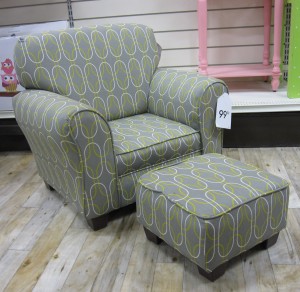
IMG_4892

Your little guy can put his feet up in style in this modern chair with a graphic print and ottoman for only $99.99!

IMG_4893

Here comes the circus!  These fun animals can add texture and a pop of colour to your little one’s digs.

IMG_4894

I love these natural wood letters which stand about 10″ high.  They are a refreshing break from the traditional baby block letters adding a modern organic element that can grow with your baby!
Happy Shopping!
DIY – Sweet and Contemporary Bird and Branch Mobile

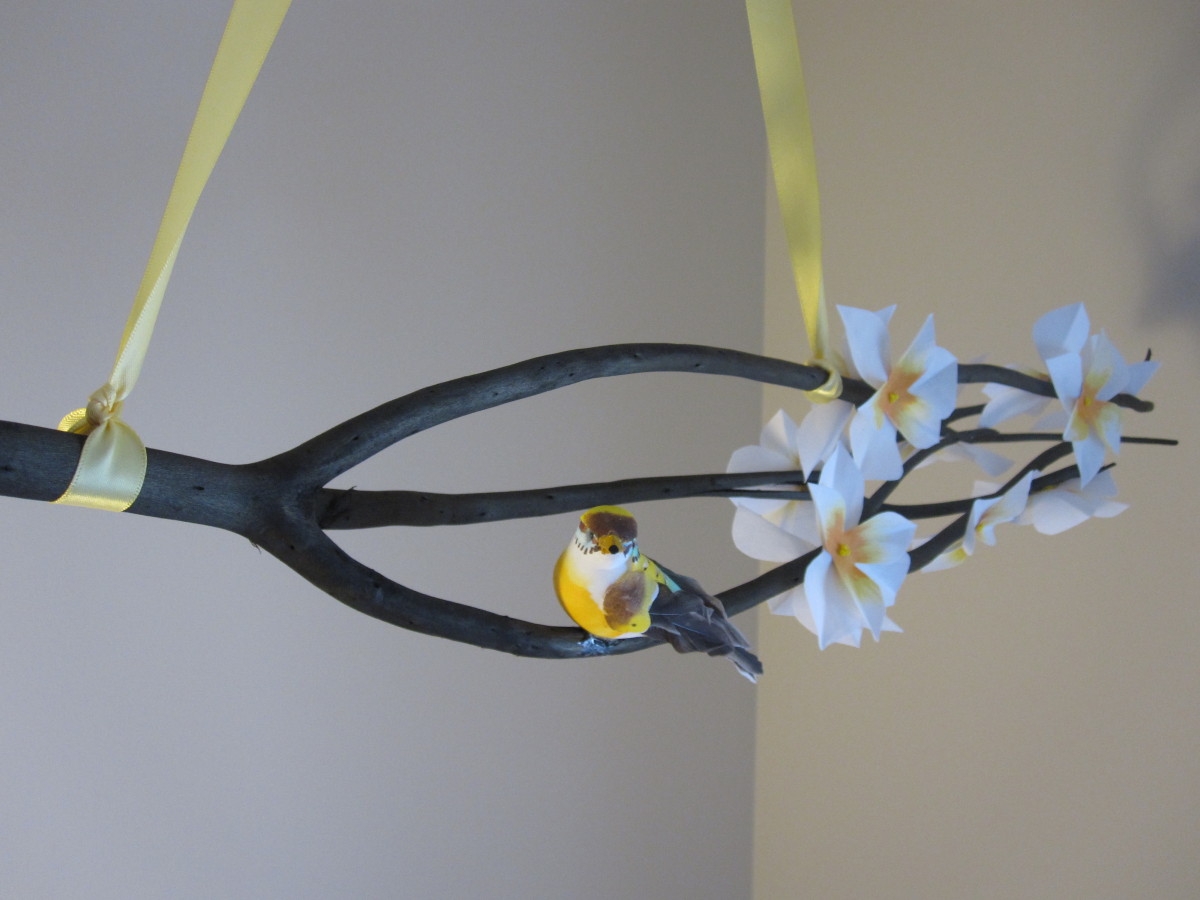
IMG_0562

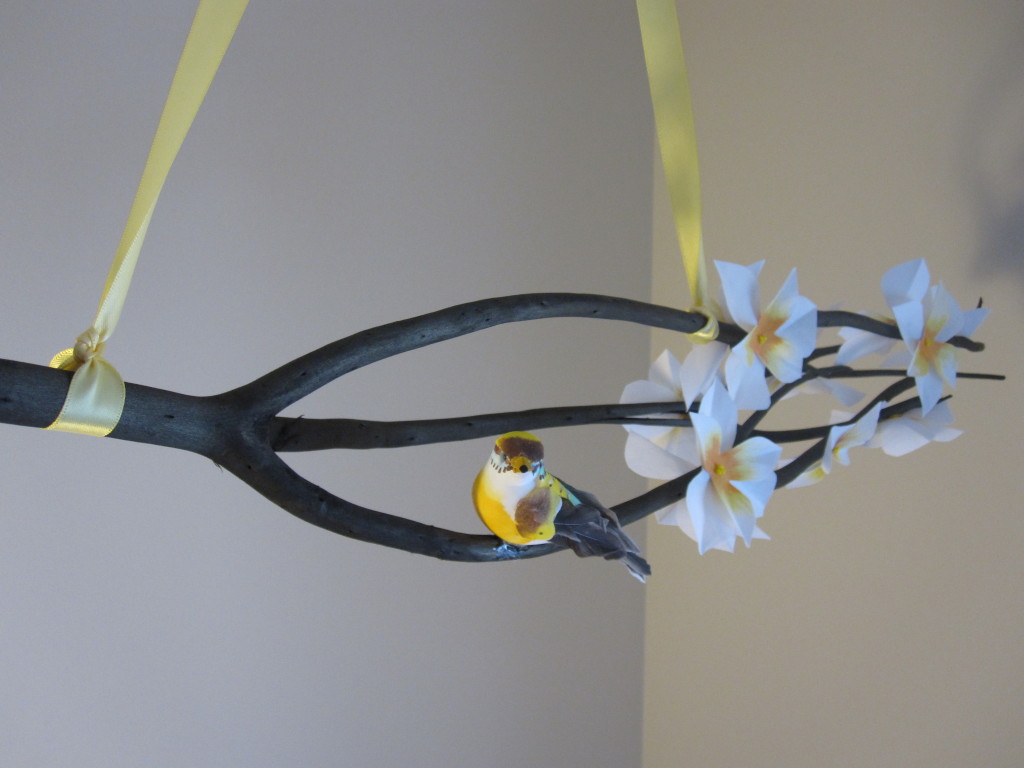
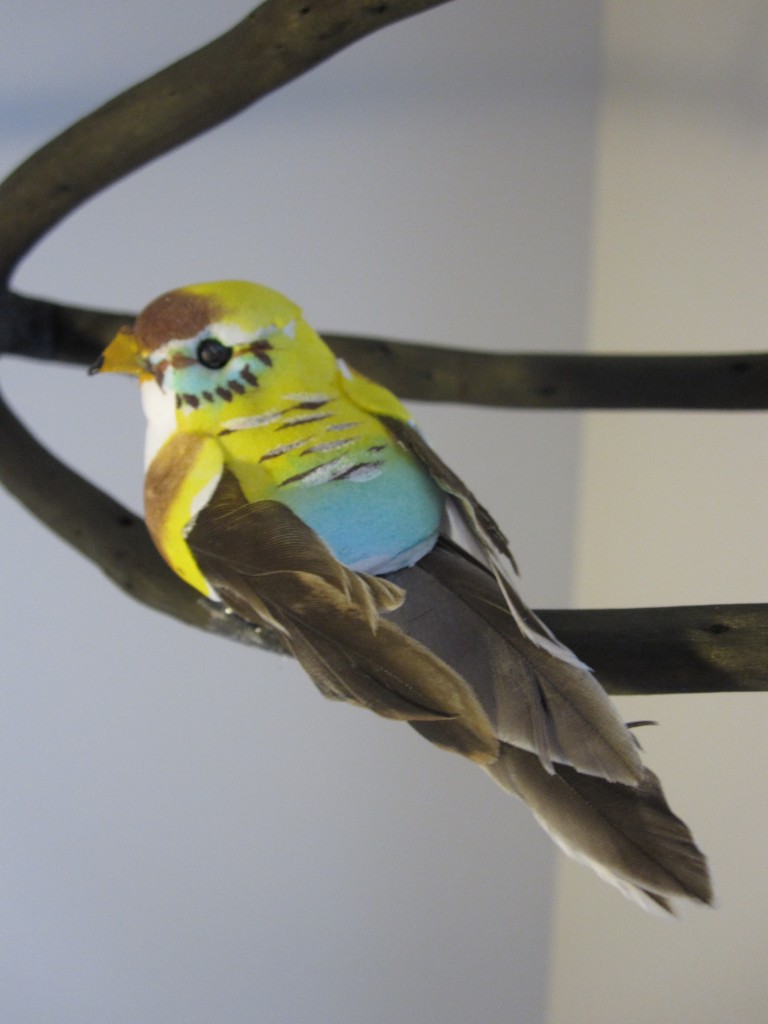
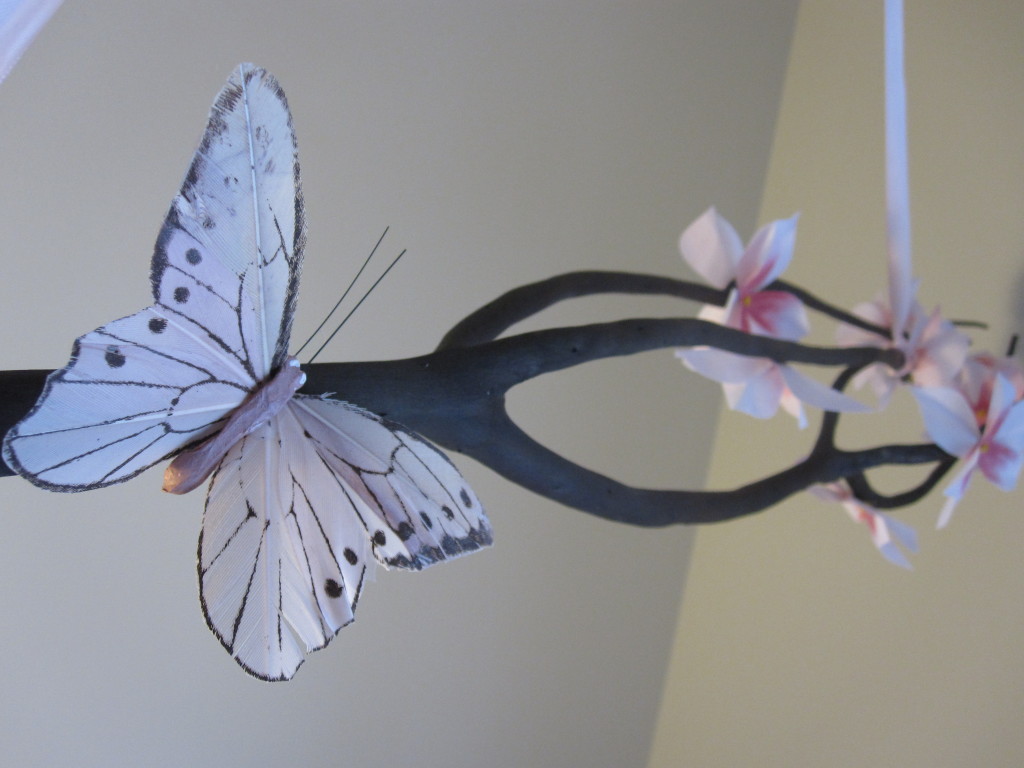
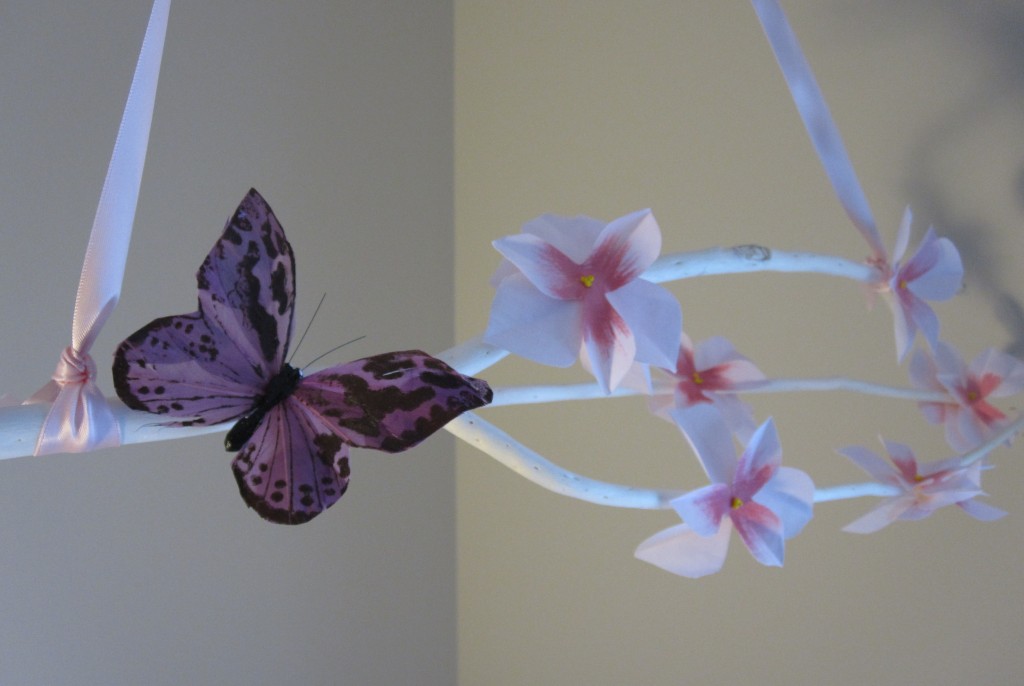
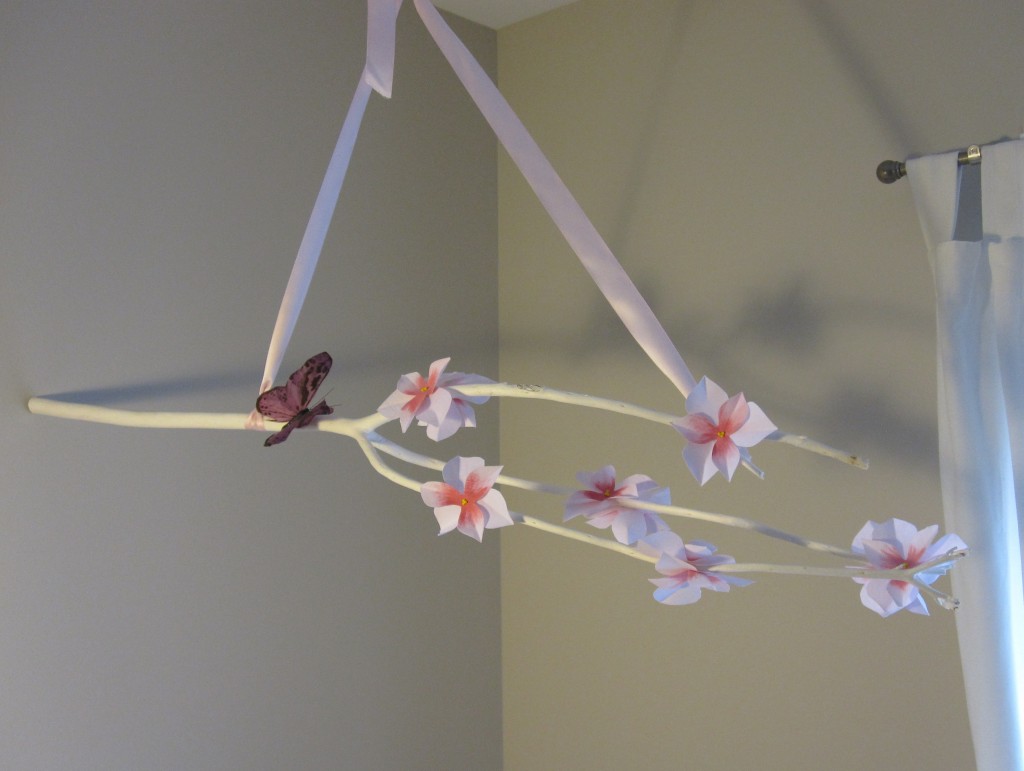
This adorable bird and branch mobile is so sweet yet stylish.  This is a super easy and inexpensive DIY project that you can make for your little darling and it is not too “baby” that she will outgrow it anytime soon.  A masculine take on this branch would be to leave the flowers off the branch and add a little owl or some felt leaves.

What you will need:

  1. A ready made branch which you can find at most craft stores.  I found mine at Bouclair Home for under $10.00!
  2. A craft bird or butterfly which you can find at a local dollar store or Michaels.
  3. Artificial flowers.  (I made mine from scratch which we will explore another day).  A couple places I love to purchase artificial flowers from is surprisingly Terra Greenhouses or Home Sense.
  4. A hot glue gun.
  5. Ribbon, approx. 1″ wide.  I chose satin because it would be slightly reflective near the window.
  6. 1 hook that can be screwed into the ceiling.

IMG_0560

First hold the branch in your child’s room or nursery and decide where you want it to go.  I would not recommend hanging it over a crib just in case your little one tries to grab it or it falls.  Decided on how low you want it hung to determine how much ribbon you will need.  Fold the ribbon in half and tie each end to the branch in double knots.  Play around with the placement of the knots to make sure it will hold the branch level.  Remove your flowers from their original stems and hot glue them in different spots around the branch.  Try to bunch your flowers in groupings of two or three and don’t put them too close to the base or tip of the branch.  Then remove any wire from your butterfly or bird and hot glue it closer to the base of your branch.  Take into consideration which direction you want to hang your branch before you place your bird or butterfly.   Screw your hook into the ceiling and hang your mobile.  You now have a stylish bird and branch mobile that cost you under $30.00 that may help distract your little rascal from squirming during a diaper change!

IMG_0543IMG_0544IMG_0548