When we first walked through this house, there were a few features that made me stop in my tracks, and this little office nook was one of them. Tucked just off our bedroom, it immediately felt like the perfect place for me to retreat, reset, and create. I could already picture myself sipping coffee in the early morning, editing videos during golden hour, or diving into strategy work for my clients while my kids were at school.
The last time I had a home office, I went all in on colour… pinks, pale blues, full of personality and excitement. It fit the season of life I was in back then. But this time around? I’m craving something different. My soul has been calling for calm, softness, and simplicity.
I want this space to feel like a deep breath.
So far, I’ve been working with pieces I already owned and elevating them with a few beautiful new finds from HomeSense. Just those subtle swaps made the entire office feel warmer and more intentional. But I’m not done yet.
I still plan to paint the walls, switch out the existing blinds for roman curtains, and add small floating shelves beside my desk… a place for my favourite books, photos, and a few pieces that spark joy and creativity.
This little office has quickly become my sanctuary. It’s where I create content for Nesting Story. It’s where I pour into my amazing clients, whose businesses and stories I’m so grateful to support. And it’s where I ground myself before stepping into the beautiful chaos of family life just outside the door.
Now, I need your help with the next step… Which paint colour should I choose?
Here are the options I’m considering:
Creamy Mushroom – Behr
Smokestack – Behr
Wheat Bread – Bher
Tell me in the comments: Which direction should I go? I’m ready to bring this little sanctuary fully to life.
A lot of awareness has been made towards the zero waste movement and I have been trying to make easy zero waste swaps in my life lately. Here are 4 of my favourites.
It’s been over a month since Plastic Free July has ended and I am still trying to make simple and easy changes in my lifestyle to be as zero waste as possible. A lot of awareness has been made towards the zero waste movement and I am especially happy with the new Starbucks lids for their cold drinks (no more straws!). I have been trying to make easy zero waste swaps in my life lately and today I will be sharing 4 of my favourites. If you want more inspiration on getting started on the zero waste movement today, check out the tips in this post here. Okay, now on to the easy swaps.
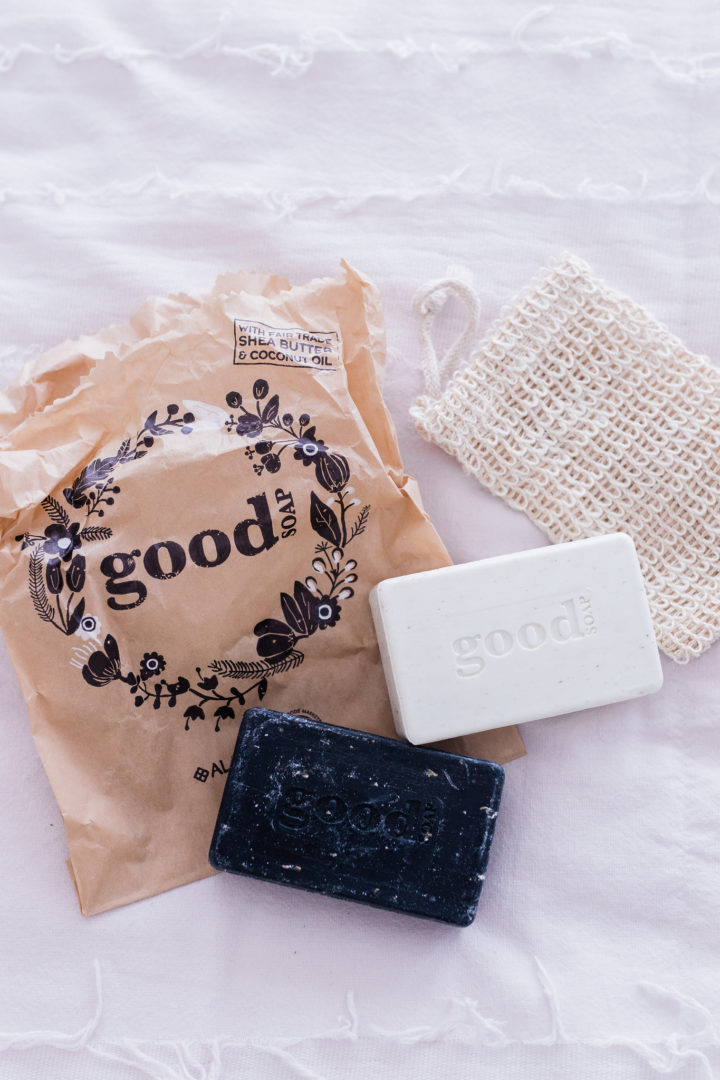
1. Switch to using bars of soap instead.
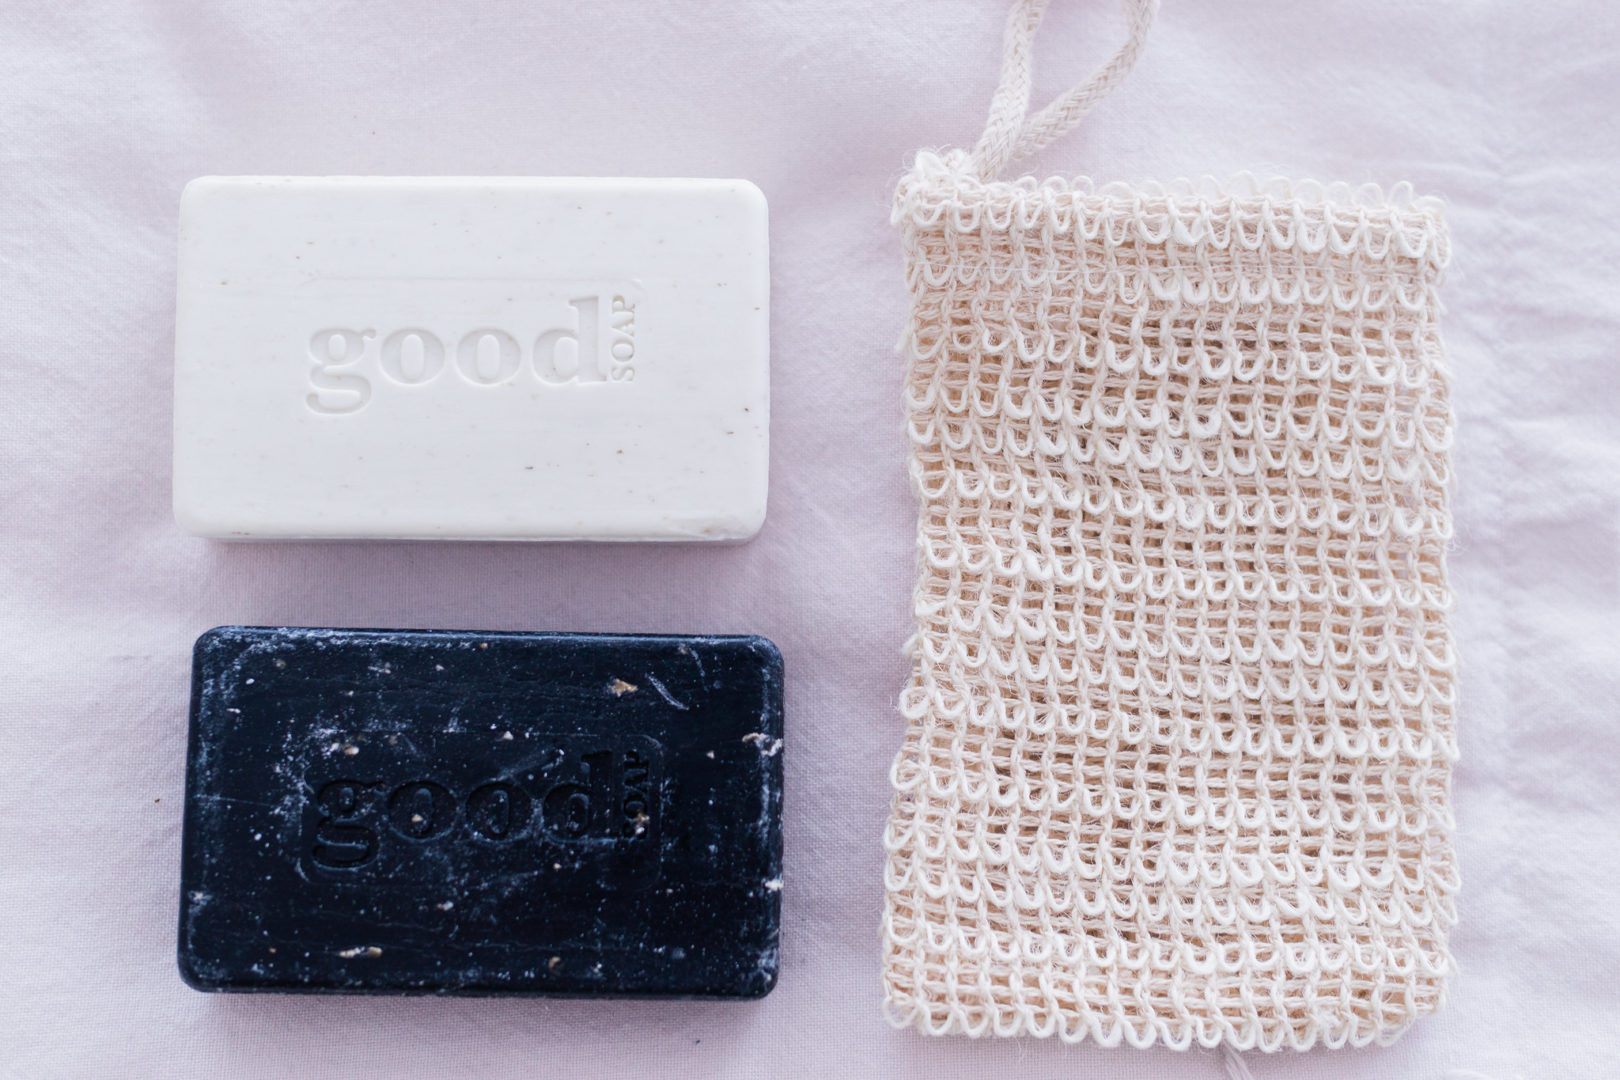
I’ve always been the person to use a body wash (in a plastic container) along with a loofa for my daily shower. However, in an effort to minimize my single use plastic consumption, I started using bars of soap inside of soap bags for the past few months and it’s been working great. I used to be grossed out by the soap scum that starts to collect on where-ever I placed the soap bar, however, these soap bags from Amazon are great. You just place your bar of soap inside the bag and not only do they help exfoliate your skin, they also prevent soap scum from building up and you don’t have any of those tiny pieces of soap left-over.
I also have been loving using this GoodSoap from Whole Foods. It is made using fair trade ingredients, smells amazing and is it at a great price point.
2. Use sponge cloths instead of paper towels.
I recently came across this Toronto based company TenAndCo. that makes the most beautiful sponge cloths as well as other home goods. So, I went ahead and purchased a few of their Swedish Sponge Cloths in a variety of colors and patterns. Not only are they the perfect replacement to paper towels, but they also make cleaning more fun since they are so beautiful.
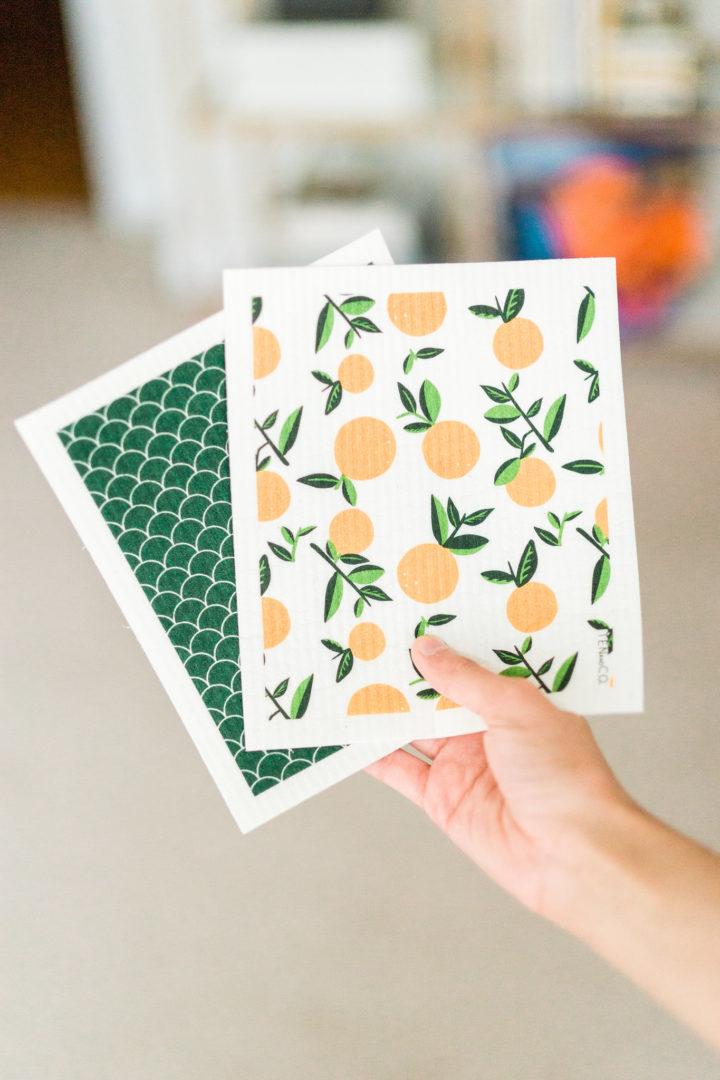
These sponge cloths can absorb 15x their weight, can replace 17 rolls of paper towels, are eco-friendly, anti-bacterial, prevent streaking and are 100% biodegradable. After a few months, you can just throw them away in your compostable waste. This brand even uses biodegradable packaging to send these sponge cloths in the mail. You create zero waste when ordering this product!
3. Make your own homemade cleaning products.
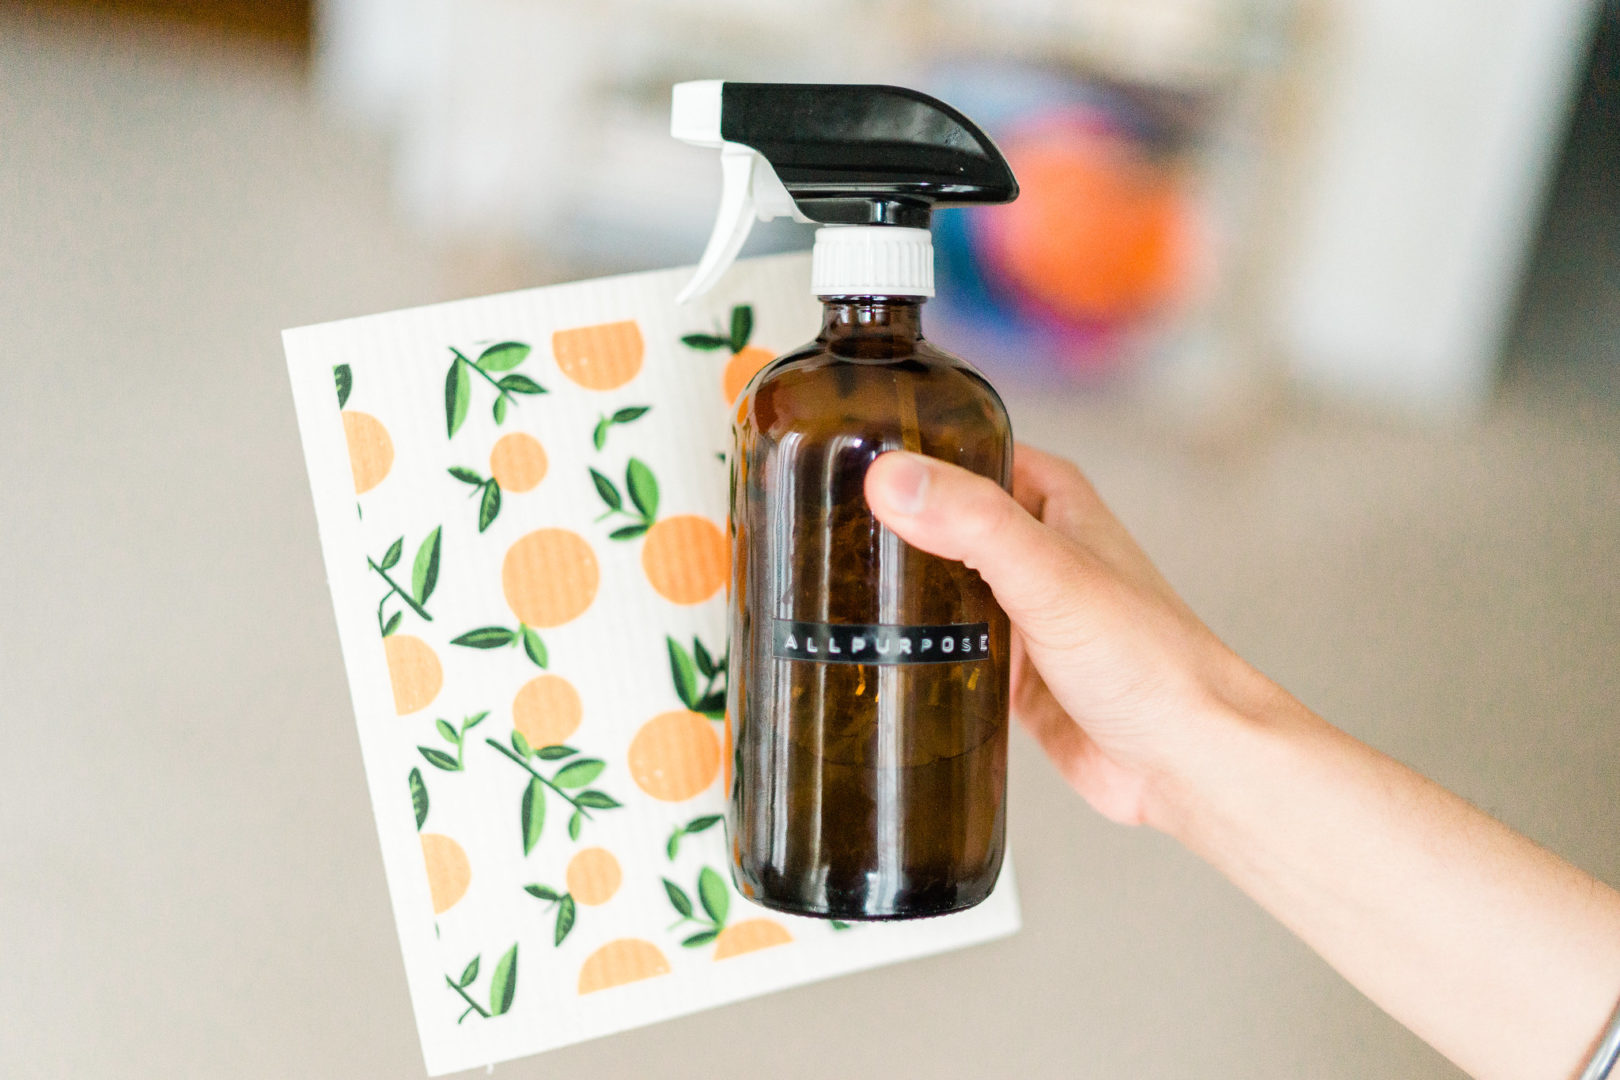
Although this swap may seem like more effort, it honestly is not. There are tons of recipes online for different cleaning recipes and Clean Mama is my personal favorite blog and her book also helps make getting started making your own products so much easier.
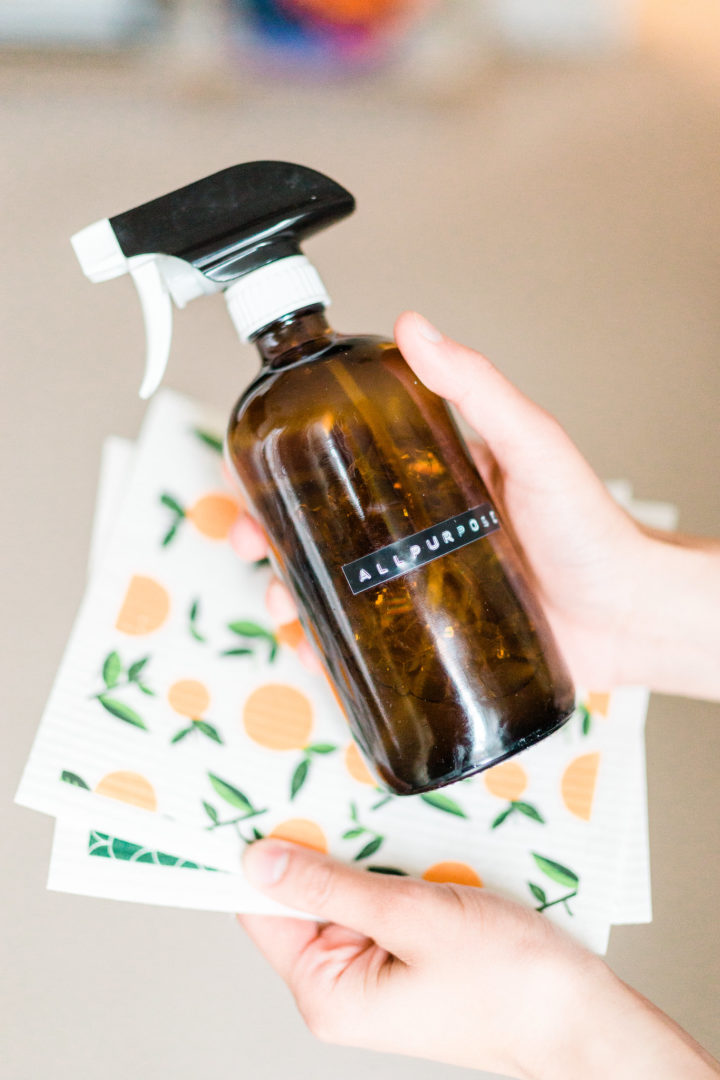
I just purchased a few amber glass spray bottles from amazon, a couple of the staple ingredients for almost all cleaning recipes and I have not looked back. You minimize on plastic waste and by creating your own cleaning products you also minimize the amount of chemicals in your household.
4. Use dryer balls instead of dryer sheets.
This is another super easy swap, that minimizes your plastic consumption as well as cuts down on cost. I really like the Nellie’s brand, which you can find online as well as my favorite place to shop: Home Sense. Dryer balls tend to have a long life span and to keep your clothes smelling amazing, you can add a few drops of your favorite essential oil to the balls before tossing them in the dryer. Dryer balls are a safe alternative to the toxic dryer sheets and also help in reducing wrinkles and creating softer fabrics. They can even decrease your drying cycle!
There you have it! 4 easy swaps you can try today and get started on that zero waste lifestyle.
Kamaldeep is the blogger behind the the beautiful and inspiring blog Get Kamfortable. There you will find highlights of her city, Toronto, minimalist DIY’s as she decorates her home, recipes and vegan restaurants that she loves. You can read Kamaldeep’s full bio, and follow her on instagram @getkamfortable.
I feel like I am living a deja vu lately with our renovation progress. Have you ever gone through renovations? Actually a better question would be, have you ever gone through a renovation process that you, (but mostly your husband), is DIYing?
We are and ugh, it’s such a stop and start process.
I have to remind myself how far our home has come since the first time we walked through it seven and a half years ago. The entire kitchen and family room were dark brown. The kitchen counters were dark brown and even the zipper-looking backsplash… brown. The rest of the house was dark blue, and when you combine that with the dark stained staircase we have, well, it felt like a cave.
But as this house sat on the market, scaring perspective buyers away with it’s unappealing palette, I saw potential. We have customized our builder home to exactly fit our family of six’s needs. You would have to pry me out of here now.
But sometimes it’s hard to forget how much you’ve done and it’s easy to focus on the never ending to-do list. Our home is bright and airy now with light grey walls. We have expanded our living space to include an outdoor dining and living area. We finished our basement creating a lot more space for our kids to play and watch movies.
Moving our laundry room to our basement is allowing us to create a dream mudroom nestled between our kitchen and our garage. This dream mudroom will house a dog shower, lots of storage, and an area for all of our kids’ school bags, shoes and snow gear.
I cut this photo out of a magazine years ago of a mudroom/laundry room by Muskoka Living as inspiration for our mudroom.
Although I wish I could say this blog post is a big reveal of our mudroom, it’s more like a reboot. You see, we got going on it last summer with demolition, new floor tile and the framing of the dog shower and then our brutal Canadian winter hit and we had to put the whole project on hold until the warm weather came again.
Last week I spent some time moving all of our stuff to our front hall closet and doing a big declutter to prep for the completion of this renovation. Watch as this all unfolded…
In case you missed it, here is our mudroom journey up until this point…
The day my husband and I moved out of the city and into our new suburban home was a very big day for us. Yes, moving is a huge undertaking, but it’s also the day I found out I was pregnant with my first (and only to date) child.
When I bought the house I had many grand ambitions for design and renovations for this square white box of a cookie cutter home. I now look back at those ambitions and laugh at myself for how far off I really was. With crippling morning sickness right up till the day I delivered (lucky me), and every other fun thing about pregnancy that slows you down, I would have been thrilled to even get paint on the walls. Spoiler alert: we did not accomplish that.
My little girl is now nearing 2 and though we are still stuck with that horrible quality builder’s paint. With the purchase of a few key design pieces, and a lot of Annie’s chalk paint for furniture, I am confident to say “yup, an interior designer lives here”.
Let’s walk through my “DIY-new-mom-no-time-no-money” home:
Family Room:
· Never underestimate the power of plants. They bring much undervalued life to a room.
· DIY floating shelves and some décor go a long way. (Literally we used old beer jugs, a couple picture frames and plants. No need to reinvent the wheel here.)
· Drapery! Even if you don’t need them for privacy, side panels make a huge impact on the overall look of a room.
· Furniture acting as storage to hide the many toddler toys is an easy way to feel human when baby goes to bed.
I can’t say my couches are high design, but hey they were 50% off at The Brick and seem to hide toddler spills pretty well, so they will do for now. To counteract this white box and uninspired furniture I rely heavily on décor items to do the work for me.
Kitchen – Before and After:
A white kitchen is not going out of style anytime soon, but never trade that look for personality. White cabinets can be a slippery slope to a very bland space. Make sure to accent the plain white cabinets with the warmth of wood and other natural materials.
Before
After
· Taking out the under cabinet range (and cabinet) and replacing it with a chimney style vent makes a HUGE impact, for as little as $300.
· Don’t be afraid to go bold with a kitchen backsplash. This 2’x2’ slate tile packs quite the punch and really makes the space what it is.
Dining Room:
A large dining room needs statement furniture to appropriately fill the space. We had none, and only a small budget for it. Thanks to the Habitat for Humanity Restore and Homesense we furnished this whole space for around $1500.
· We were lucky to find this dining room table TOP only on clearance for $100. Nobody was buying it because it had no legs. After a very easy leg purchase online we now have a statement dining room table that would sell for $3000+, which we spent $300 on.
· Hutch and coffee table were dated, orangey pieces found at the Restore. With a couple coats of white chalk paint and new hardware they work in just about any space.
· Don’t forget the plants/ drapery side panels and you have yourself a space to entertain in.
Master Bedroom:
This master bedroom is such a painfully square and boring room. With grand ambitions to one day put in hardwood flooring and do a wood statement wall, a rug and some décor items are doing the trick for now.
· A plush rug takes your eye away from the builders grade carpet.
· Move the eyes upand away from the plain wallswith decor. A headboard, wall art, lamps, plants etc.
· End tables are refinished logs with legs bought on Etsy.
· Makeup vanity, chair and mirror were all literally found on the side of the road. HELLO spray-paint and new hardware!
I’m not suggesting that décor items are cheap, but I am suggesting that they are cheaper than a full blown renovation when you’re not ready. It’s always nice to dream of your perfect home, but until time and budget fill that dream there is plenty you can do to make your home design an inviting space that you are proud of.
Lara Young is the Principal of Lara Young Design, and also a new mom. Like many of us Lara is trying to find that quintessential work/life balance. Being her own boss is bringing Lara one-step closer to her dream. You can read Lara’s full bio, or contact her to help with your next design project here.
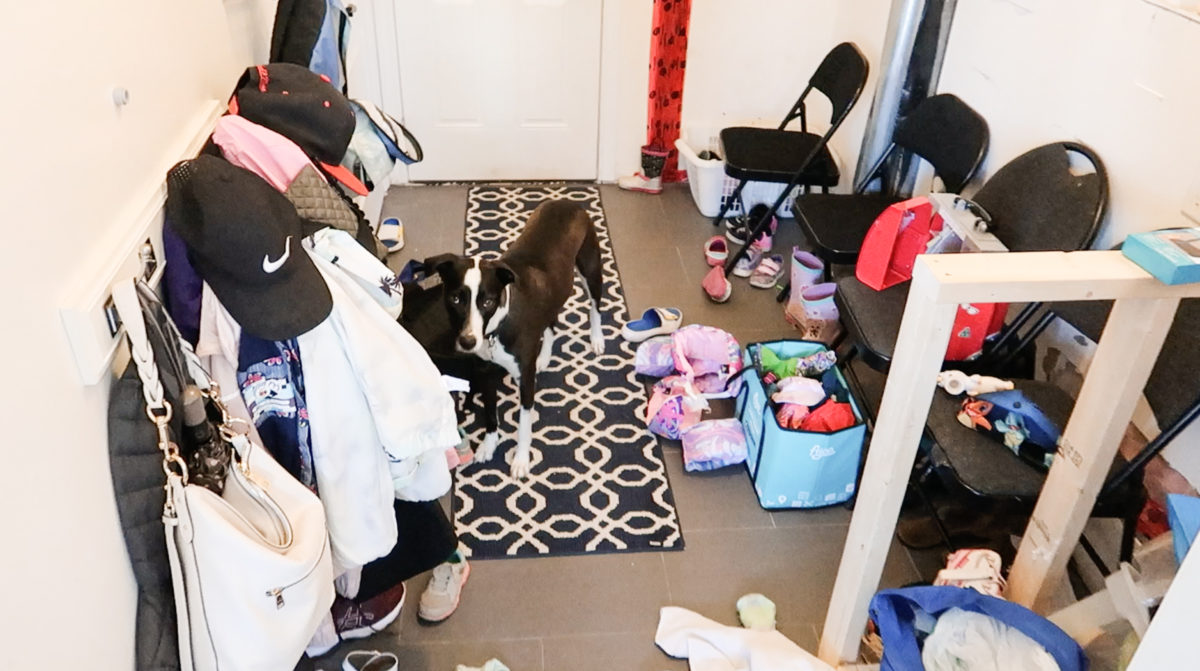
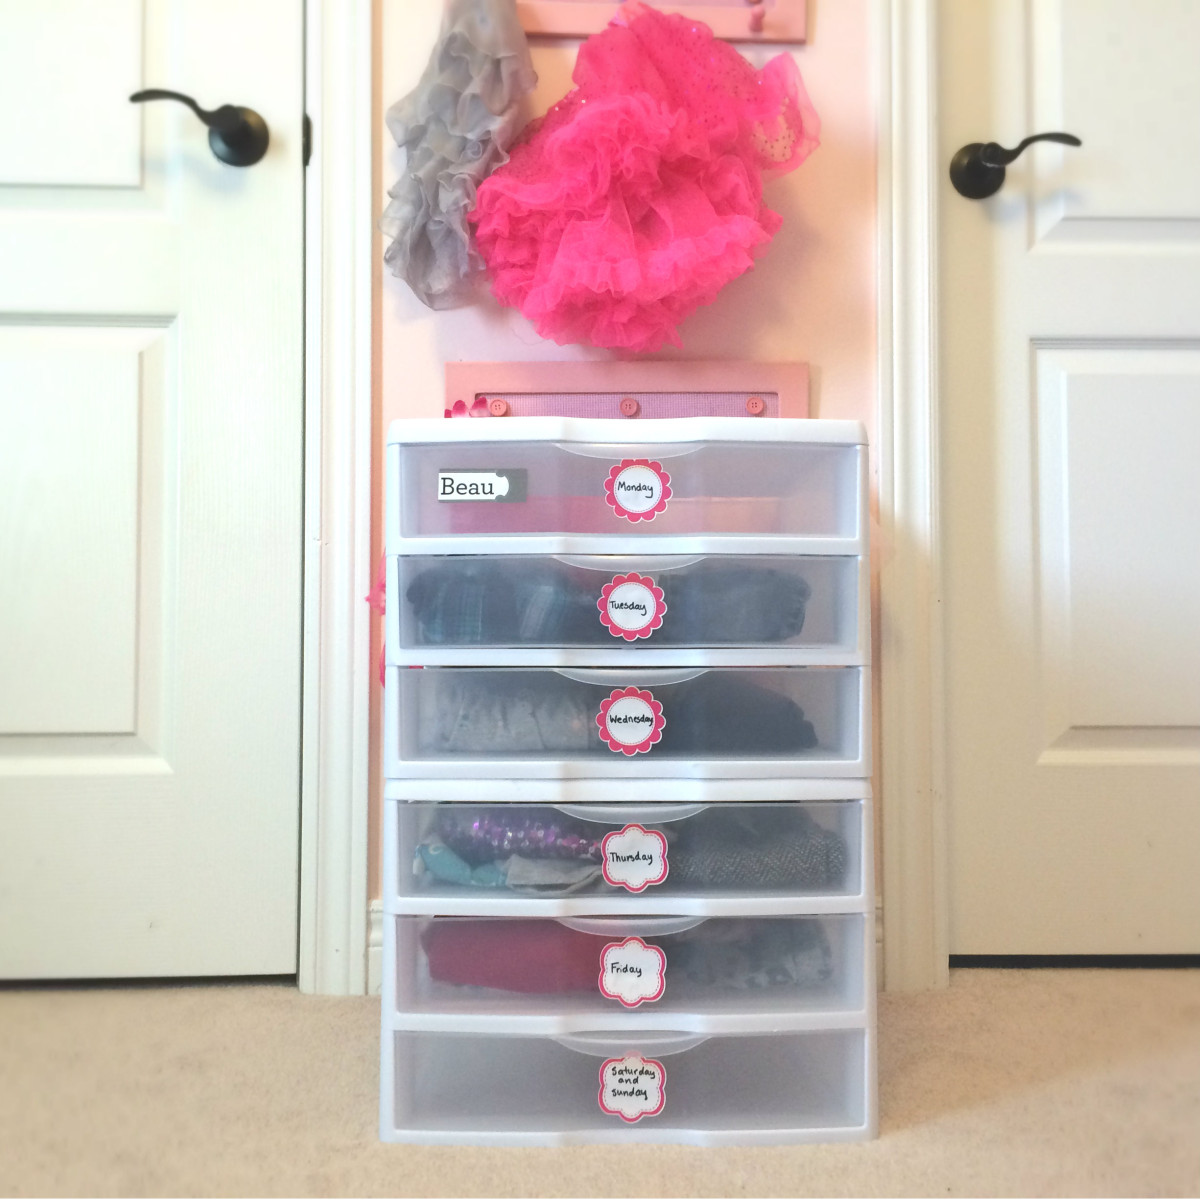
Every morning, before school, I was scrambling to pick out clothes for my kids to wear. It was a constant source of stress. That is until one of my friends showed me this genius idea she found on Pinterest.
It’s such a simple idea, but solves so many problems. Simply find a unit of drawers (I found mine at Walmart) and label them with the days of the week. Labels shown are from Sticky Monkey Labels. This post is not sponsored. I now do all of my family’s laundry on the weekends and make sure it is put away into their drawers before Monday morning. 
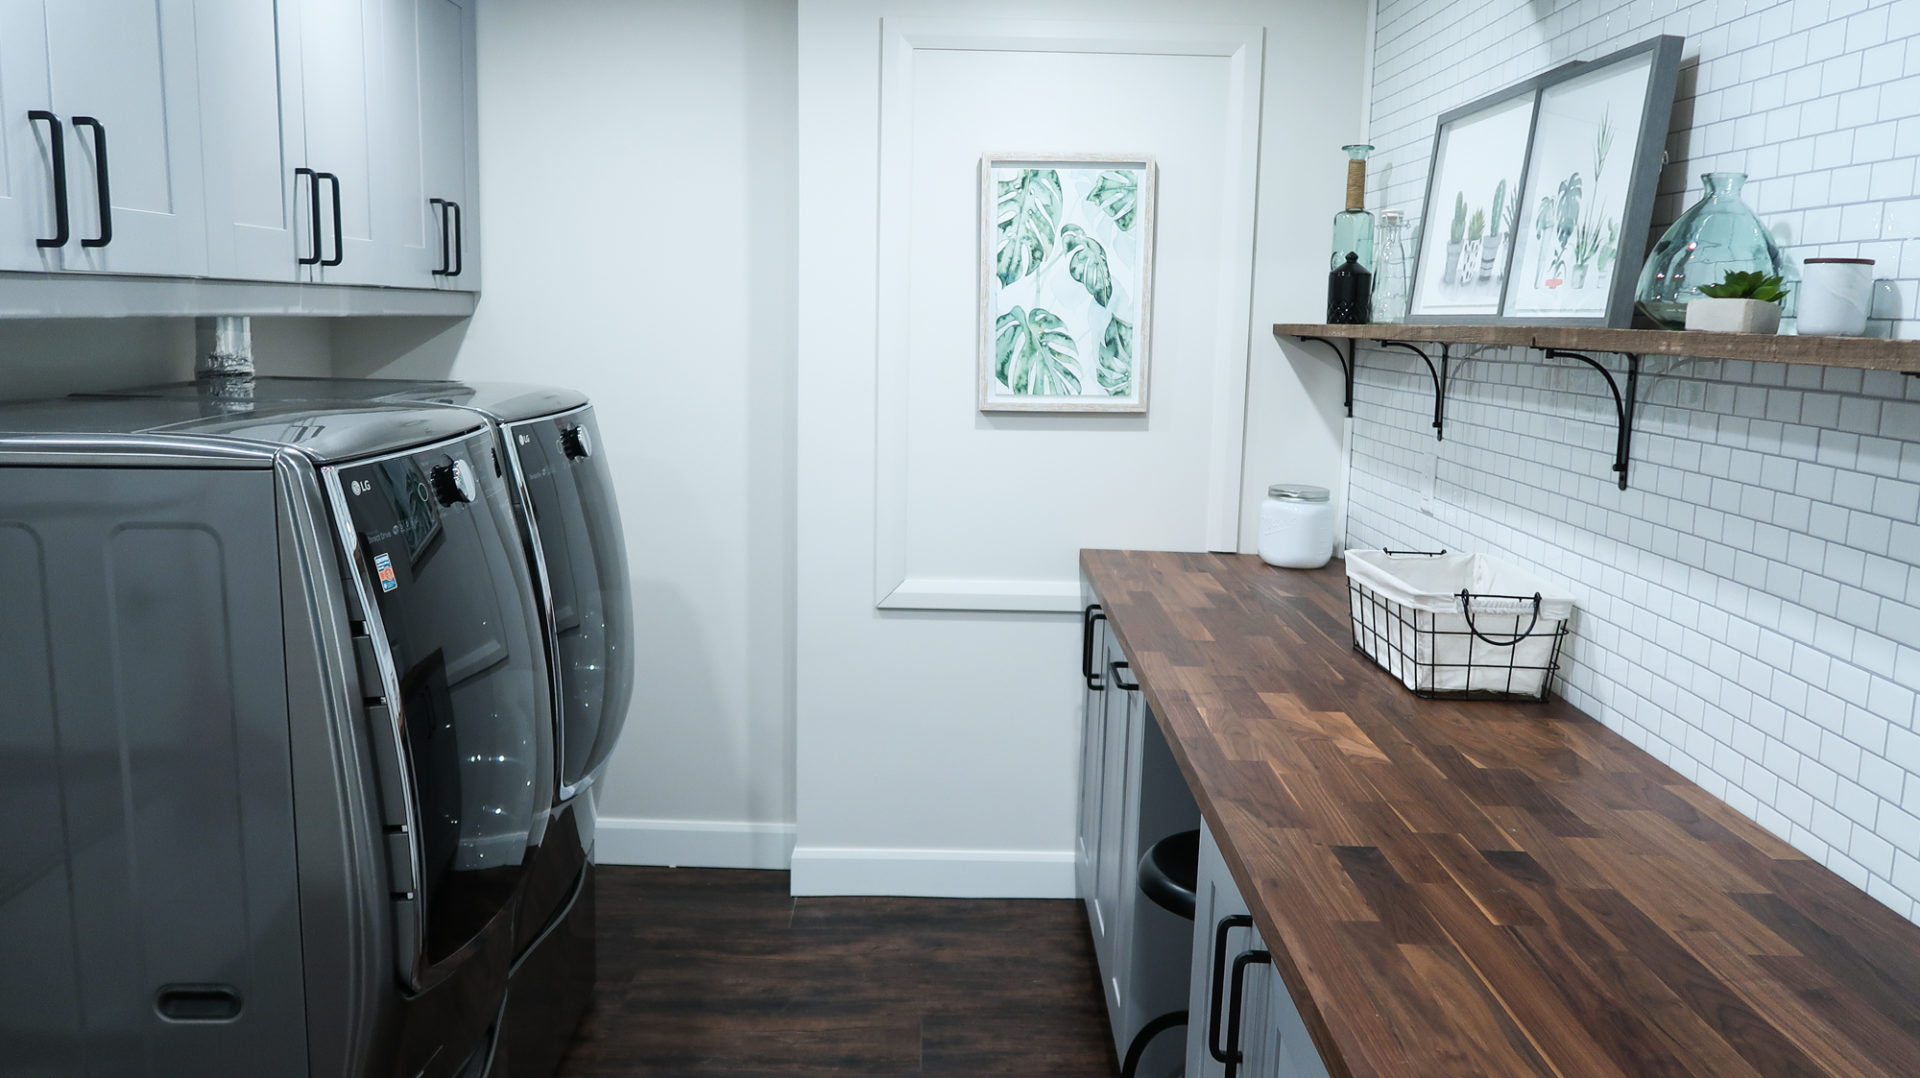
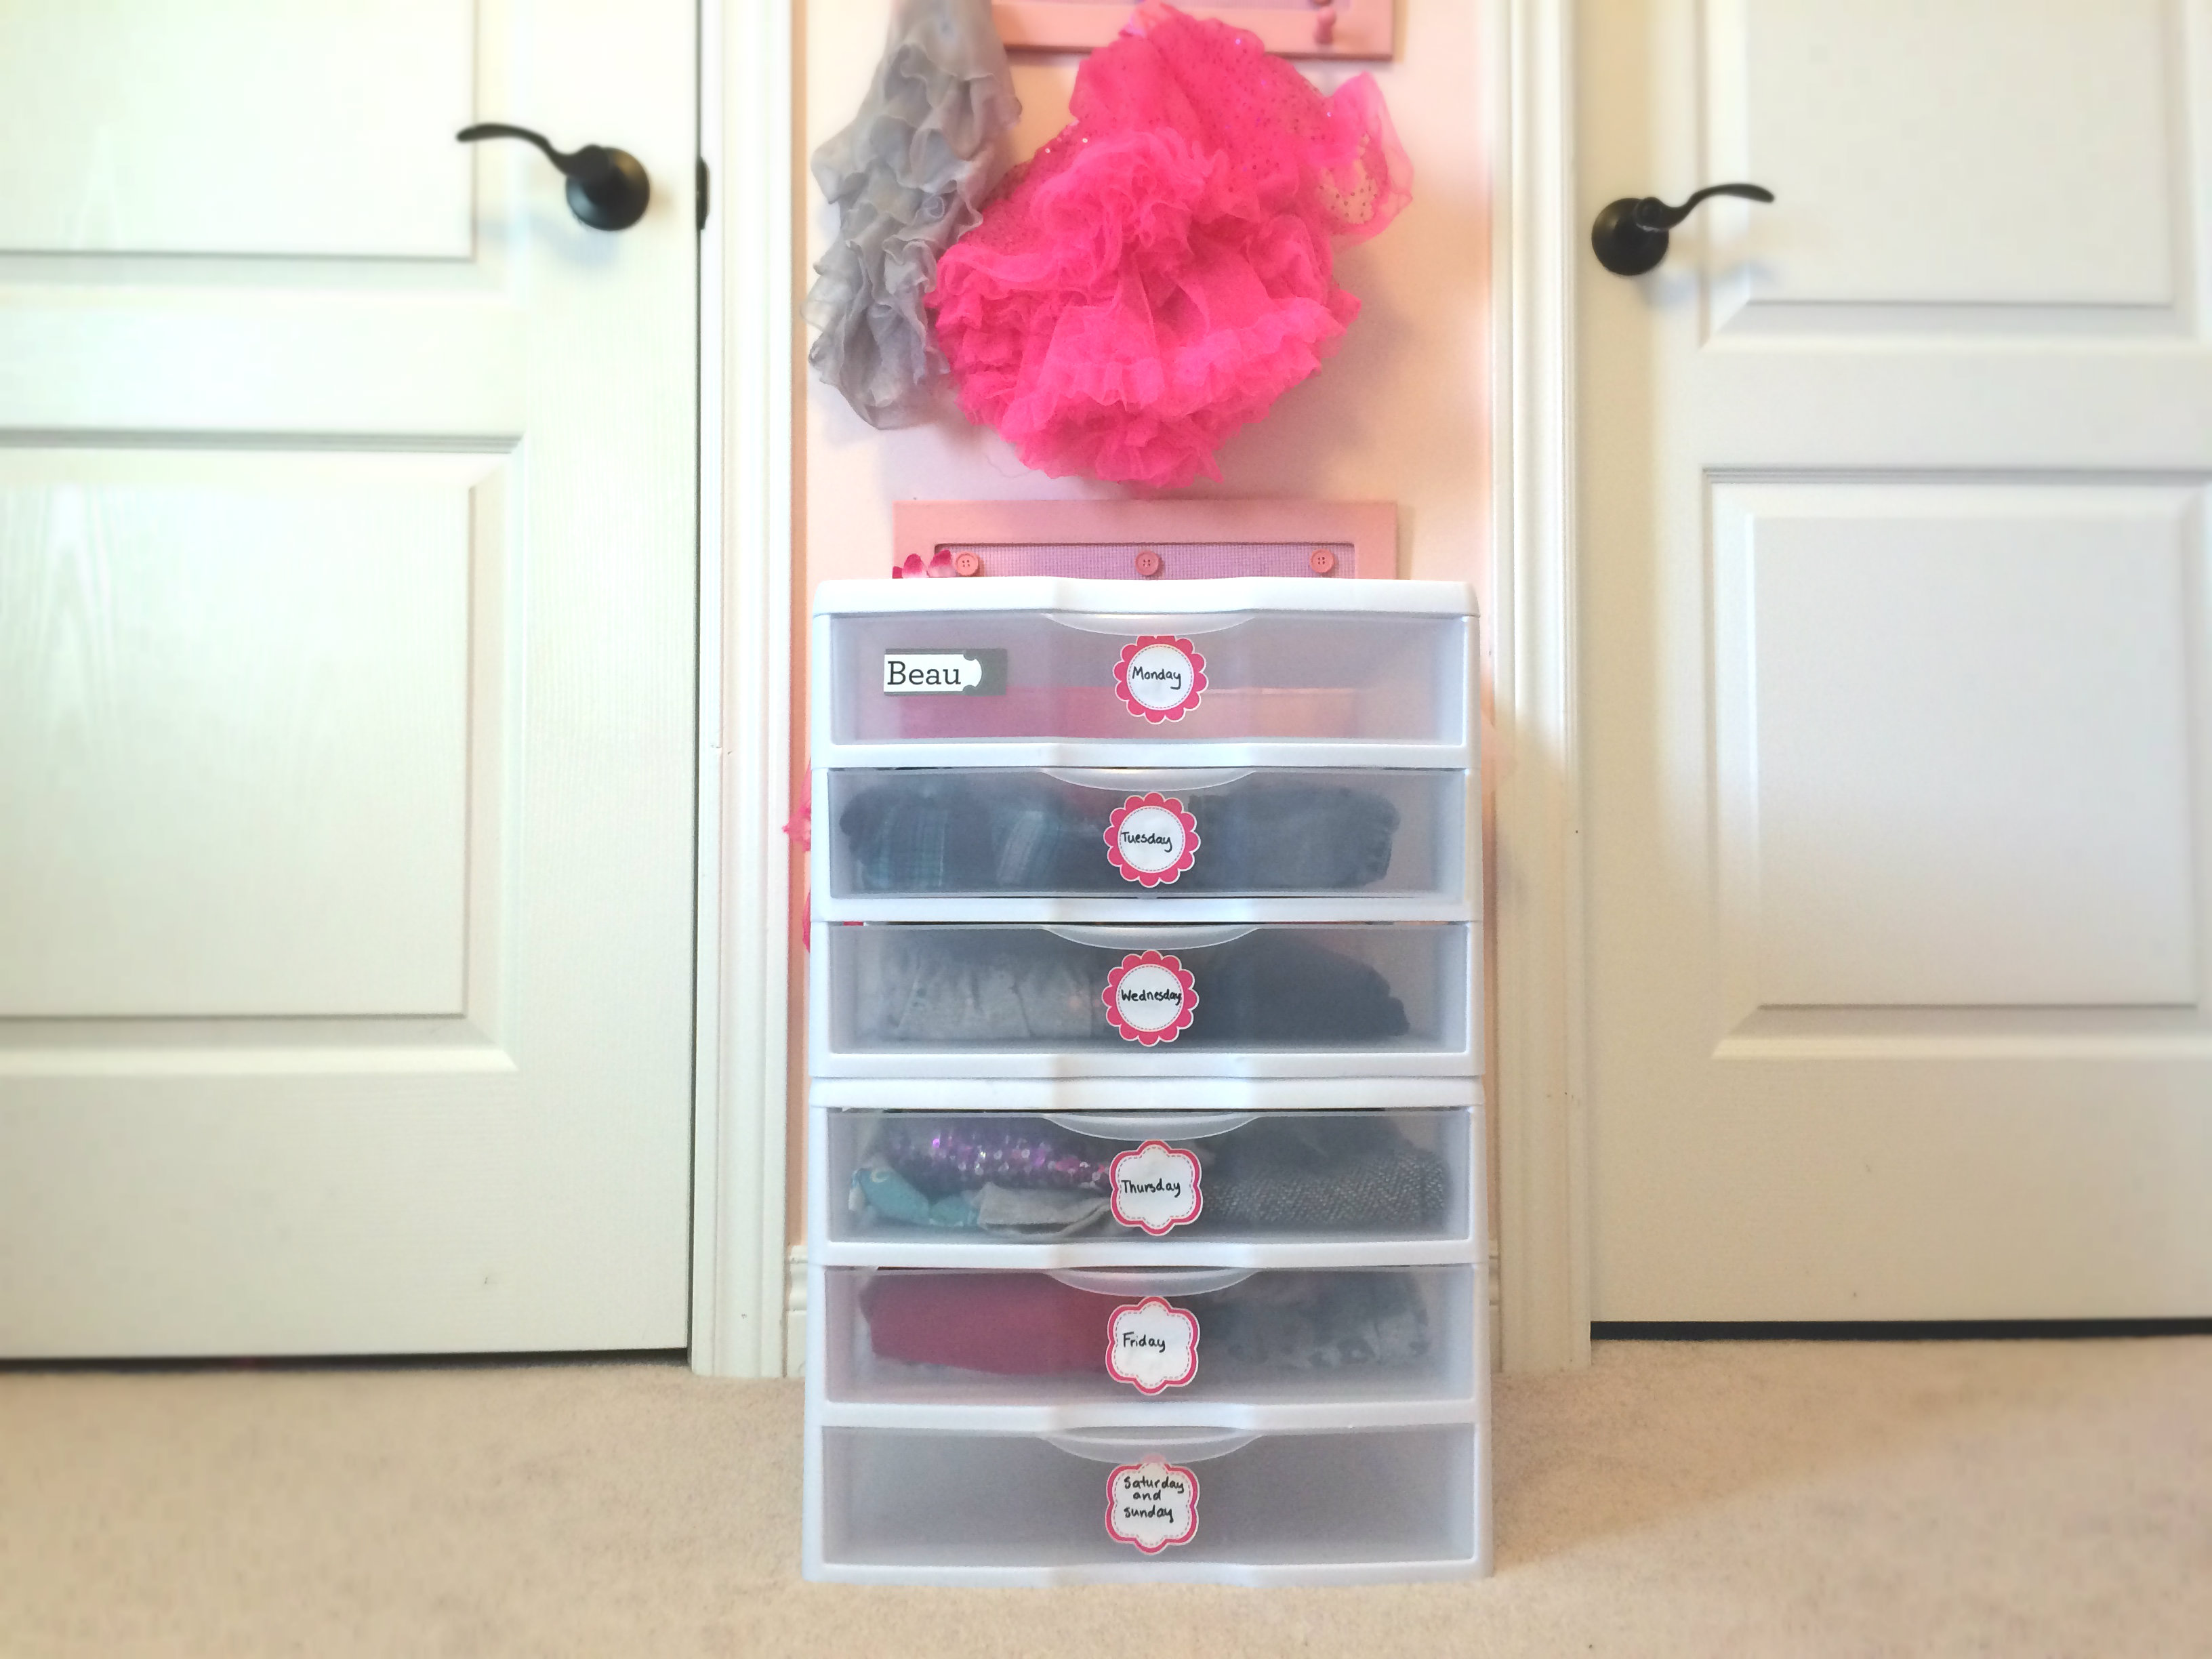
This clever solution has not only helped keep me organized in the mornings, but my kids have stopped complaining about what I have picked out. Maybe they feel more independent, so there is no need to challenge me. Whatever the reason, I am a happy mom!