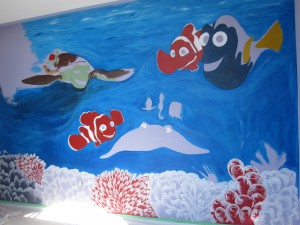
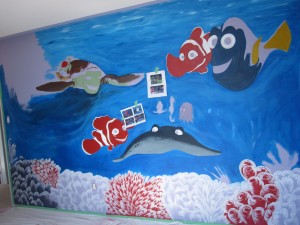
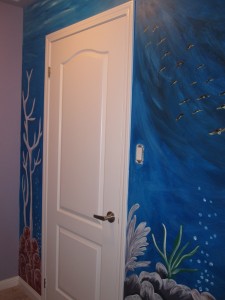
Nesting Story began with my children’s murals and bloomed from there. I love meeting with a new client and hearing their exciting ideas and plans for their child’s room. Sometimes the child is older and has a lot of great ideas to add, other times the little one hasn’t arrived yet and I am meeting with very excited parents-to-be. Whatever the case may be and whoever my little client is, there is a lot of thought and love that goes into each mural I paint. I wanted to show how the process works and maybe inspire you along the way!
Step 1: The Initial Consultation
I like to meet with potential clients in person whenever possible. It gives me a better feel as to what they have been thinking about and it is very helpful to see the space. Any kind of inspirational images that can be brought to this meeting is also very helpful. From this point I can create the concept sketch.
Step 2: The Concept Sketch
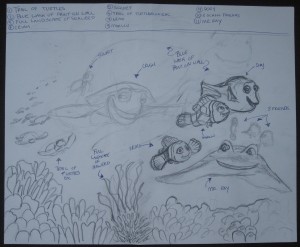
I take all of the elements and ideas that are going into the mural and create a concept sketch. Each Item is named and numbered.
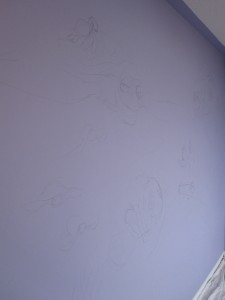
Step 3: Sketch and Layout on Walls
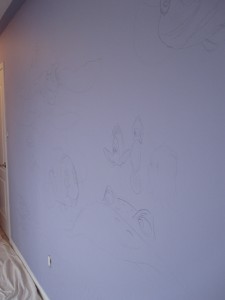
Once the concept sketch has been approved it is time to start. Most of the time the walls need to be painted a base colour. This needs to be done before the mural can start. I would be happy to recommend a painter for this process. Using small inspirational images and the concept sketch I then freehand draw the mural on to the wall. Once the sketch on the wall has been approved it is time to start painting.
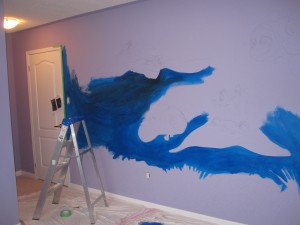
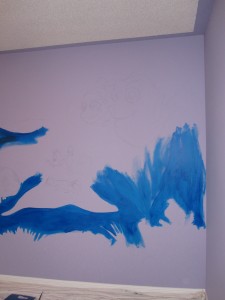
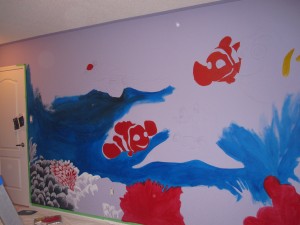
Step 4: Painting the Mural
It is time to paint! I use acrylic (not oil) based paints which dry quickly and do not give off fumes. I usually like to get the overall colours on first and leave the details until the end.
Step 5: The Finished Product
At the end I add the finishing touches including highlights and shadows. Then… ta da! The mural is done and ready for your little one to enjoy!
