
Fall has officially arrived here in Ontario, the leaves are changing colour, the mornings are crisp and cool and the days are far too short. It’s a favourite time for most because everyone is excited to break out their cozy sweaters and drink all the pumpkin spice lattes possible. It’s also the time of year when we are all craving cozy comfort food and we don’t mind the oven warming up the house.
Soups are always a smart diner idea in the colder weather and can be prepared ahead of time to help with the everyday chaos we call life. A warm bowl of soup is always a huge hit in my house. I used to be so intimidated by making soup until I actually started making them and they really couldn’t be easier. I also just recently invested in an immersion blender and that is such a HUGE game changer. I question myself …why in the world did I wait so long to buy one. It has up’d my soup game BIG TIME!
I’m sharing one of my family’s favourite recipes with you guys. A Thai Butternut Squash Soup. Not only is it packed with amazing curry and coconut flavours, it warms your body from head to toes. This recipe can be done on the stovetop or in the crockpot. Oh, and the added bonus with this soup, your house smells AMAZING!!!!! You can definitely dial up the heat with this soup or leave it on the more mild coconutty side, either way, the flavours are not compromised.
Like most soups, this recipe is quite healthy loaded with vitamins. Butternut Squash is high in antioxidants, low in calories and high in Vitamins A, B6, C,E and magnesium and potassium (who knew???). The red thai curry paste reduces inflammation, helps with detoxification and aids in digestion. So not only is this soup packed with flavour, its bursting with health benefits.
This soup can be served as the main meal, the first course (which we did this year at Thanksgiving) or as a side dish. Warm Naan bread for dipping makes this comfort food irresistible …
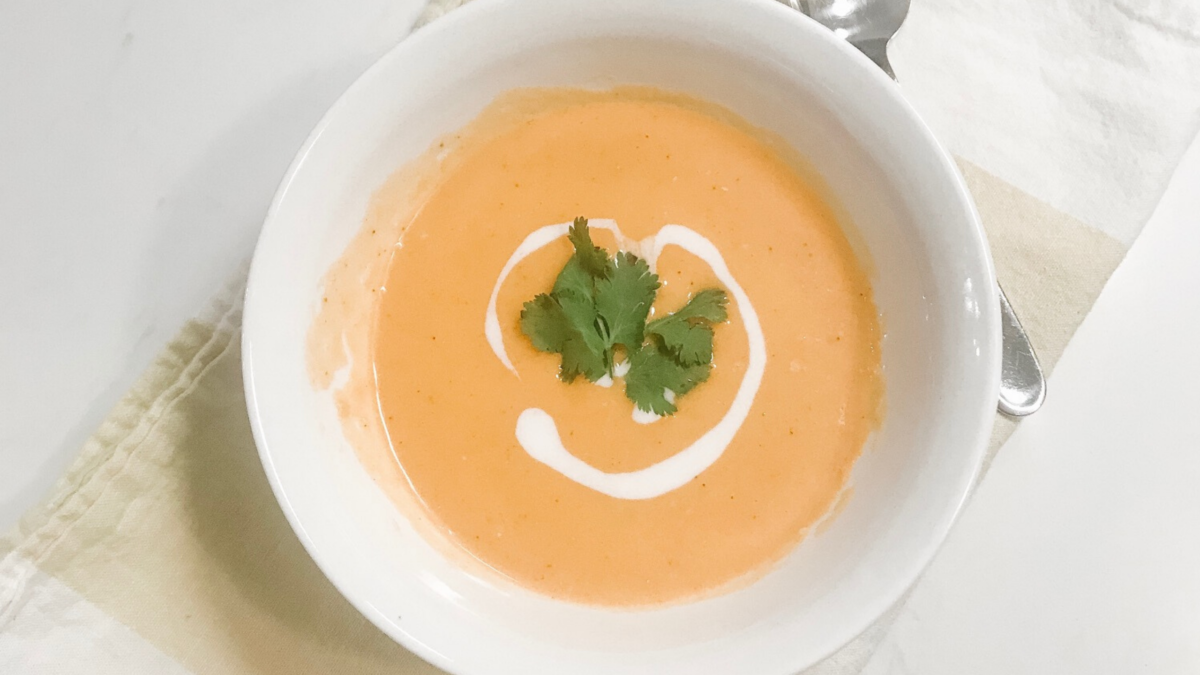
Thai Butternut Squash Soup
Yields 4 servings
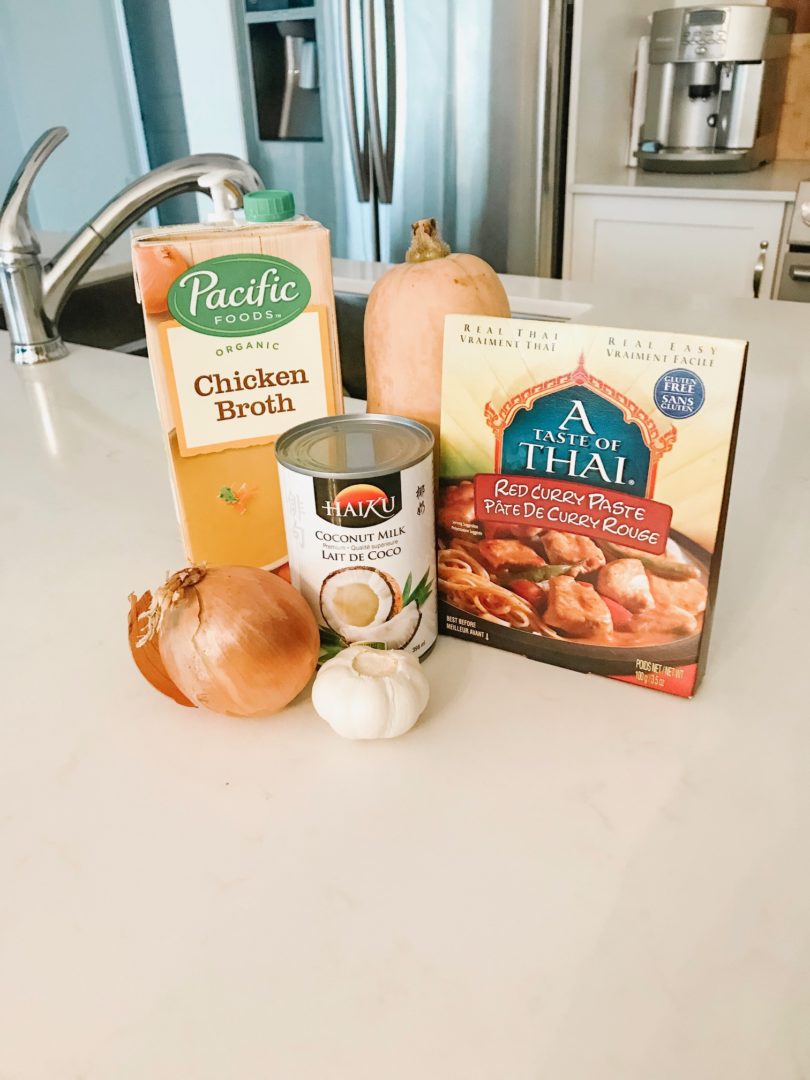
Ingredients
- Butternut Squash, peeled, seeded and cut into cubes, 1-2inch cubes (about 4 cups)
- ½ cup Cilantro
- 2 cloves of garlic
- Juice of 1 lime
- 1 tsp ginger, freshly grated
- 1 yellow onion (medium)
- 2 TBSP of RedThai curry paste
- 1 15 ounce can of coconut milk
- 2 cups of chicken stock (or vegetable stock)
- 1 tsp salt
- 1 tsp pepper
- 1 TBSP of extra virgin olive oil
- Optional ½ cup peanuts (unsalted)
- Sriracha
Directions
In a large soup pot, heat the oil on medium heat. Saute the garlic and onion for about two to three minutes. Add in the ginger and thai curry paste and cook for another five minutes. Make sure when you are stirring you are scraping the bottom of the pot so none of the ingredients burn/stick.
Pour in chicken or vegetable stock slowly, stir well then add in the squash. Stir again making sure everything is combined and bring to a boil. Once a nice rolling boil has been achieved, turn down the heat to low and simmer for 25 minutes.
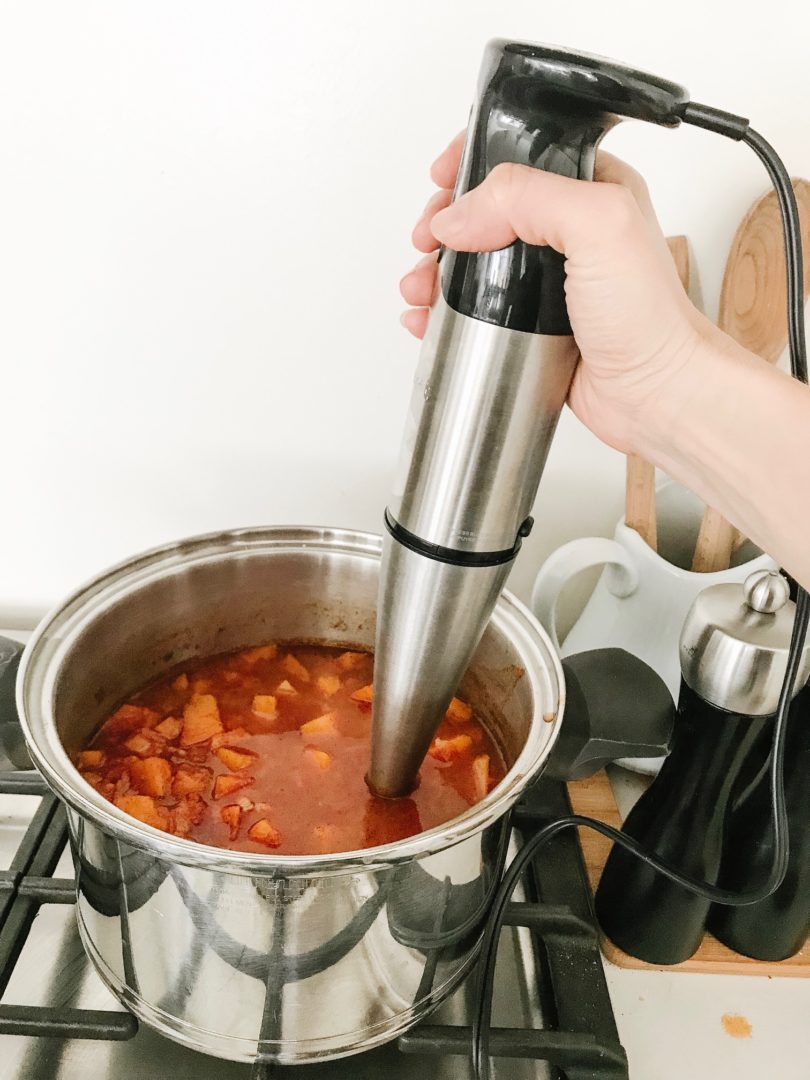
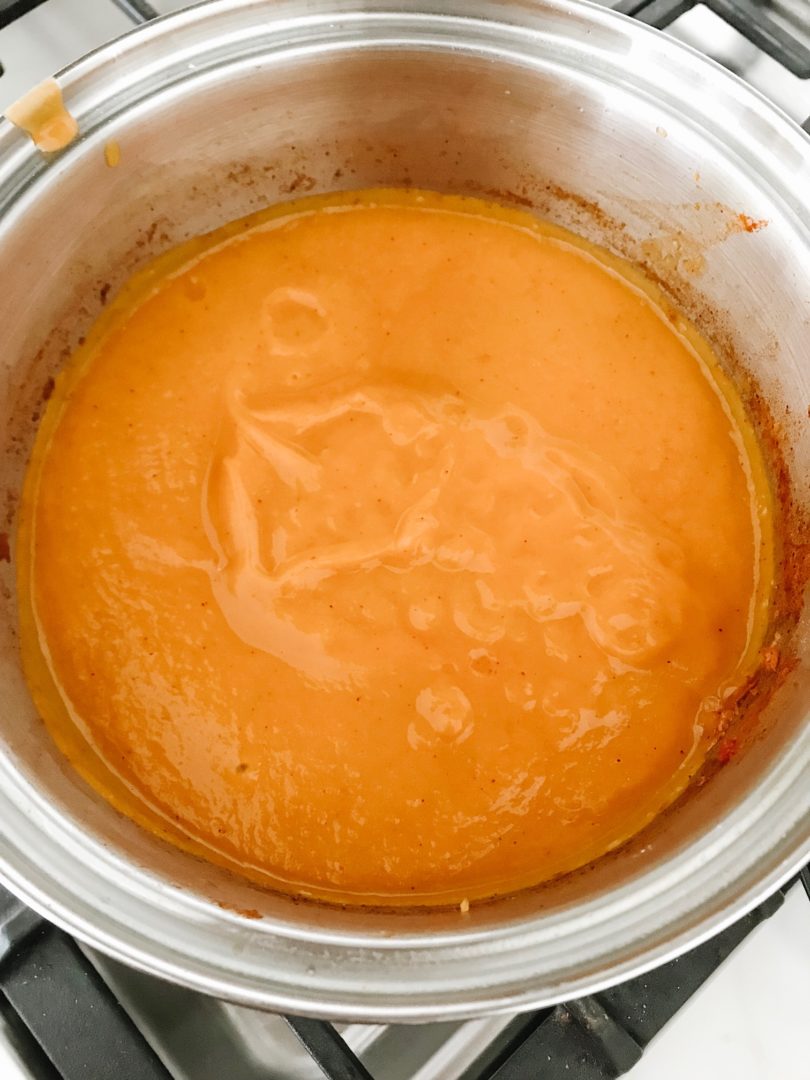
Next use the immersion blender and pulse the soup making it a smooth velvety texture. When using an immersion blender, place the blender at the bottom of the pot and pulse up with short strokes never bringing the head of the blender to the top. I learned this the hard way…what a mess. If you don’t have an immersion blender, in batches pour into a blender until smooth.
Once blended, pour in 90% of the coconut milk into the soup and stir. Then squeeze the fresh lime juice into the soup and allow for the soup to simmer five minutes. Add salt and pepper to taste.
All done!…well almost…
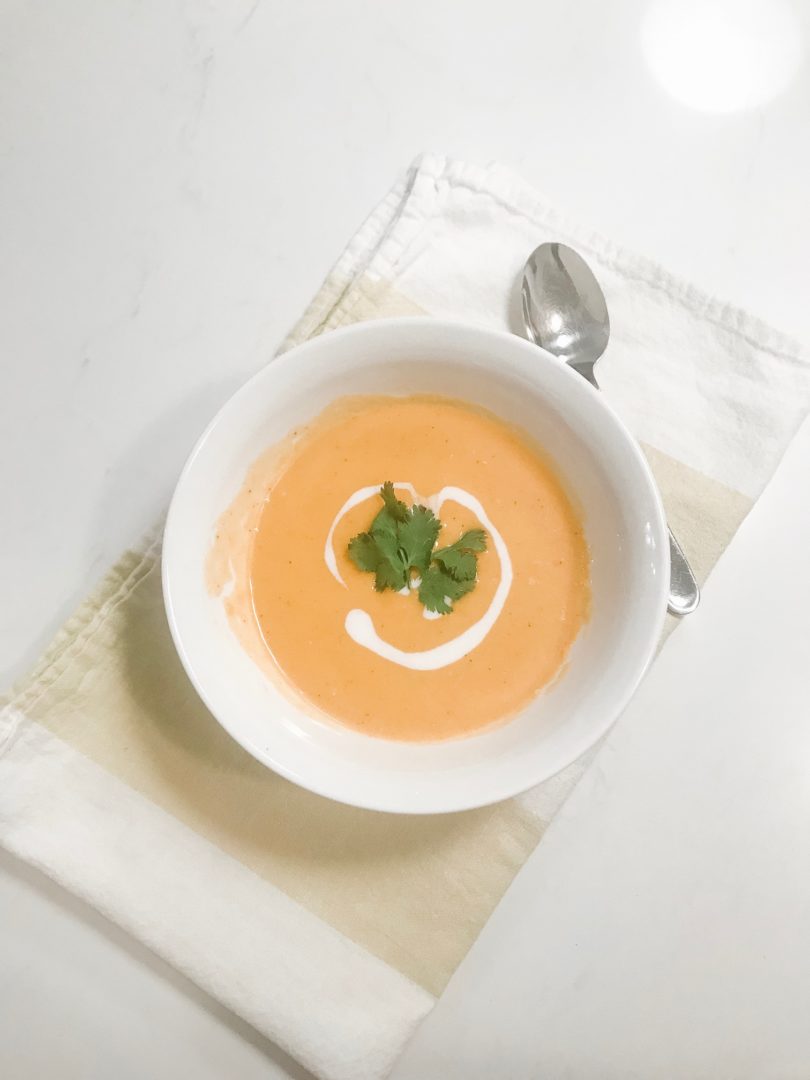
When serving, pour the soup into the bowls (I know…thanks tips), drizzle the reserved coconut milk on top, garnish with cilantro and peanuts if desired and a swirl of Sriracha.
Serve with oven warmed Naan bread…you will thank me!
Tip: Before you pour the coconut milk into the soup, stir well!! If not, when you pour the majority of the milk without stirring, you are left with the watery portion of milk and that doesn’t look as pretty when swirling the remaining on top
Lori is a thirty something year old mom of four, living in the little town of Niagara-on-the-Lake, Ontario. Her passions include her family, fashion, and food. She loves preparing simple and delicious recipes that both kids and adults will enjoy.