With autumn here and colder days fast approaching, it’s always nice to get cosy and eat some delicious food. It’s my belief that your soul needs warm yummy food at this time of year!
Having always had a sweet tooth, baking is something I’ve enjoyed since I was little. Cookies and biscuits are something I haven’t attempted to bake for a long time, but as the chilly autumn evenings have begun closing in, I’ve been called to bake something warm, chocolatey, and delicious!
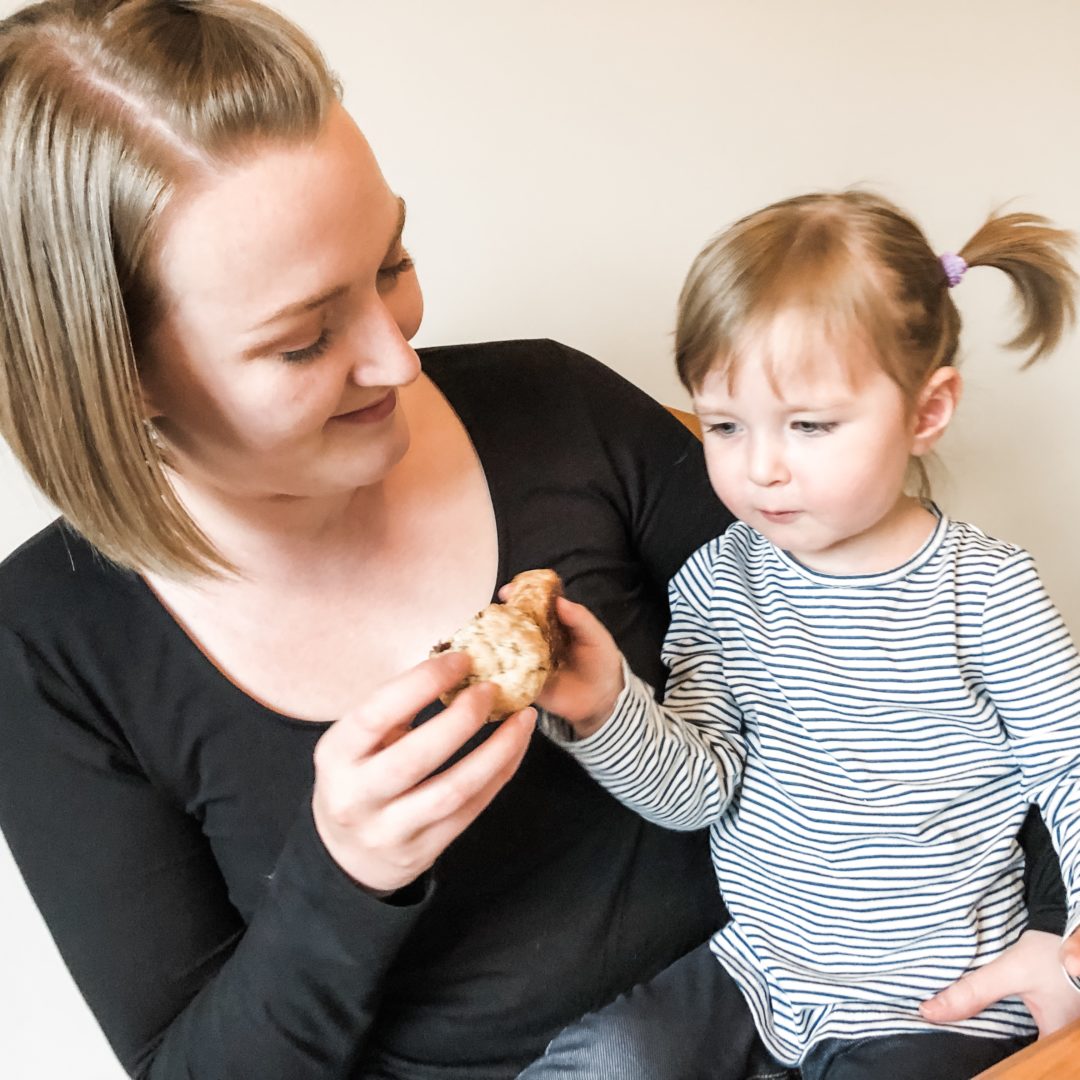
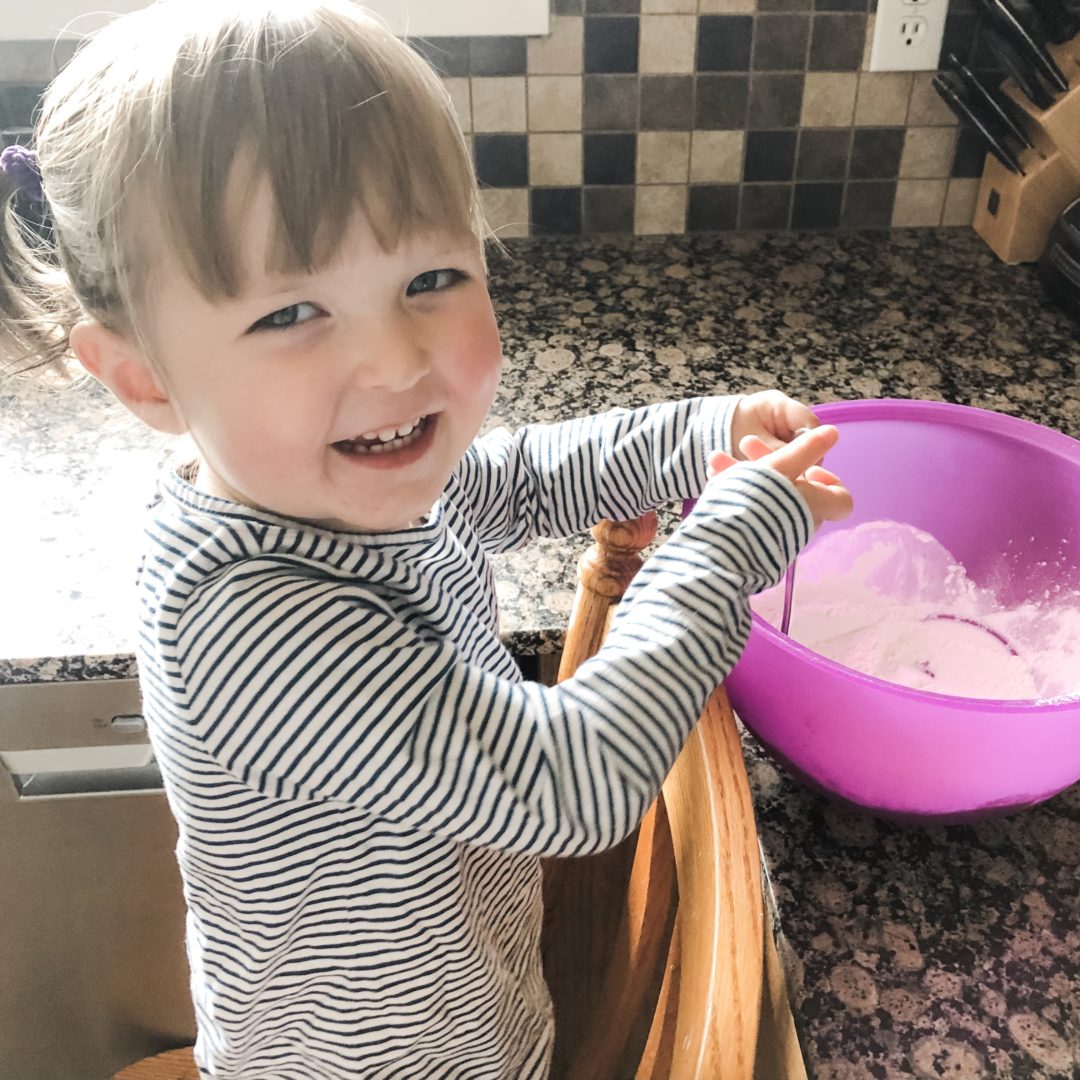
These are easy to make for even the novice baker, and having not made any type of cookie for years, I was skeptical at first how they would turn out. Not only were they mouthwateringly good, they were also surprisingly simple to make. You can even include your little ones while baking, and have them help stir the ingredients.
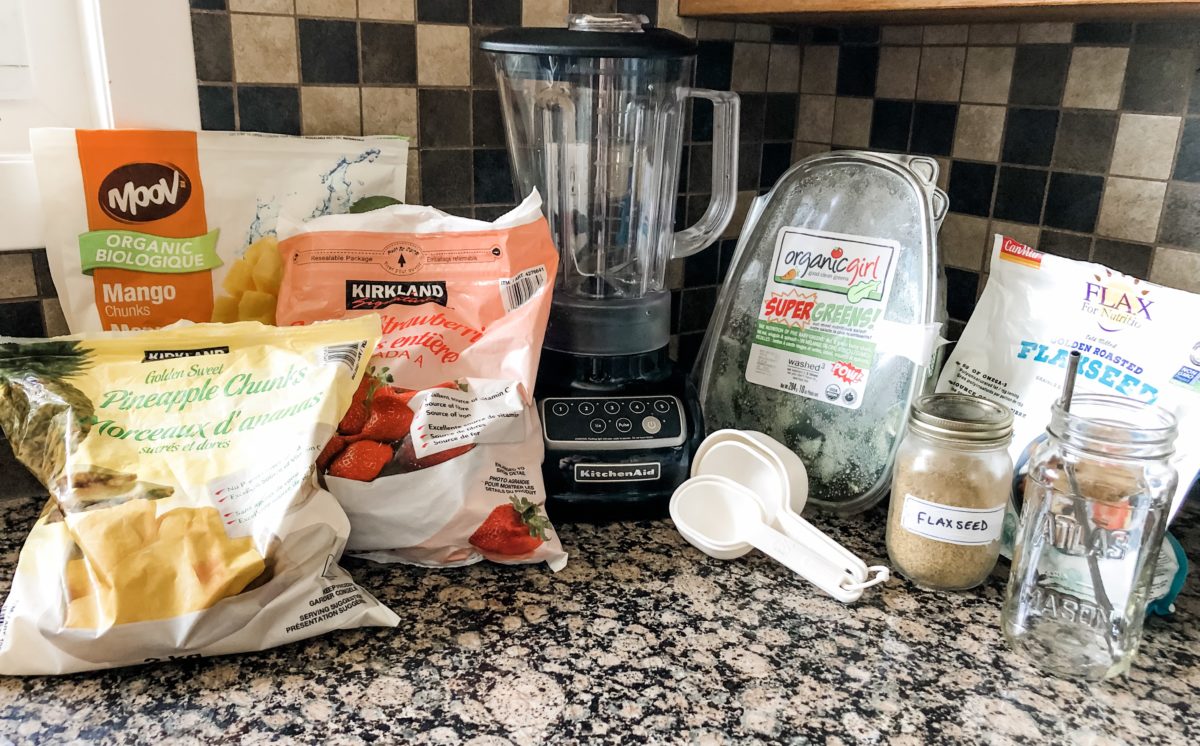
I’m always on the look out for delicious recipes, that are also healthier. With the rolled oats in this recipe you can rest assured that your little one is still getting a healthy dose of protein & other essential nutrients from their chocolate chip cookie after dinner!
So read on and learn how to bake the most delicious, crunchy on the outside, chewy on the inside, melt in your mouth oatmeal chocolate chip cookies!
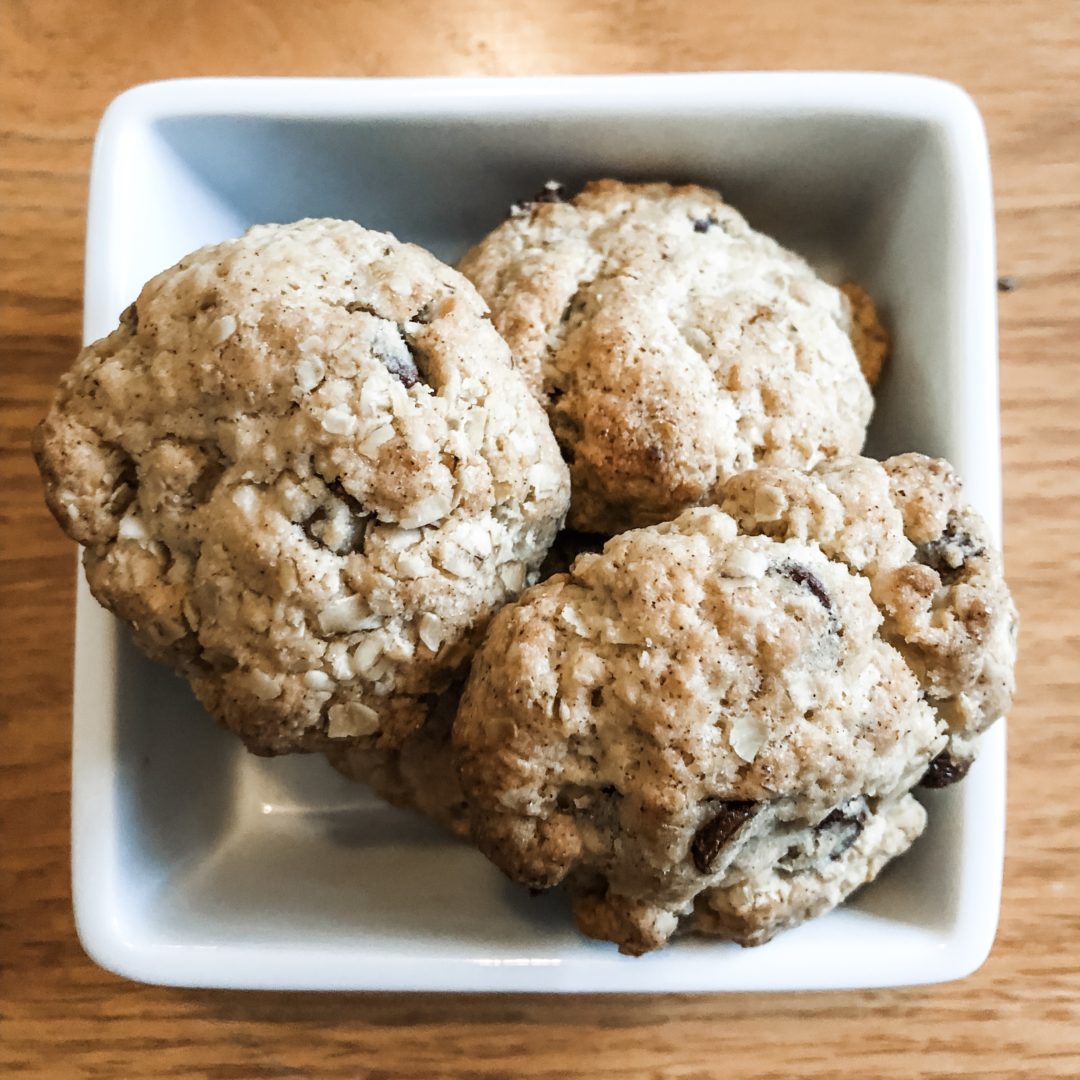
Oatmeal Chocolate Chip Cookies
Makes around 16 cookies
Dry ingredients:
- 1 1/4 cups all-purpose flour
- 1 cup rolled oats
- 1 teaspoon cinnamon
- 3/4 teaspoon baking soda
- 1/4 teaspoon salt
Wet ingredients:
- 3/4 cup butter, cold (can sub for vegan butter like Earth Balance)
- 1/2 cup white sugar
- 1/2 cup brown sugar
- 2 teaspoons vanilla extract
- 1/2 cup chocolate chips (can sub for vegan chocolate chips, or switch for raisins)
1. Combine all the dry ingredients in a bowl (little hands can help stir!) Heat the oven to 350F (180C).
2. Cream the butter and sugar together until combined, and resembles a smooth thick paste. If you have a hand blender I recommend using it, as the cold butter does take some working to combine with the sugar.
3. Mix in the vanilla extract and chocolate chips (or raisins).
4. Mix dry and wet ingredients until a dough forms. Add 1 tablespoon of water at a time if the dough isn’t sticking together. The goal isn’t to have one large thick ball of dough, but rather test you can work the dough into balls and they stay together.

5. Take roughly two tablespoons of dough and roll into a ball, place on an overproof tray. Lightly press the top of the ball to flatten slightly.
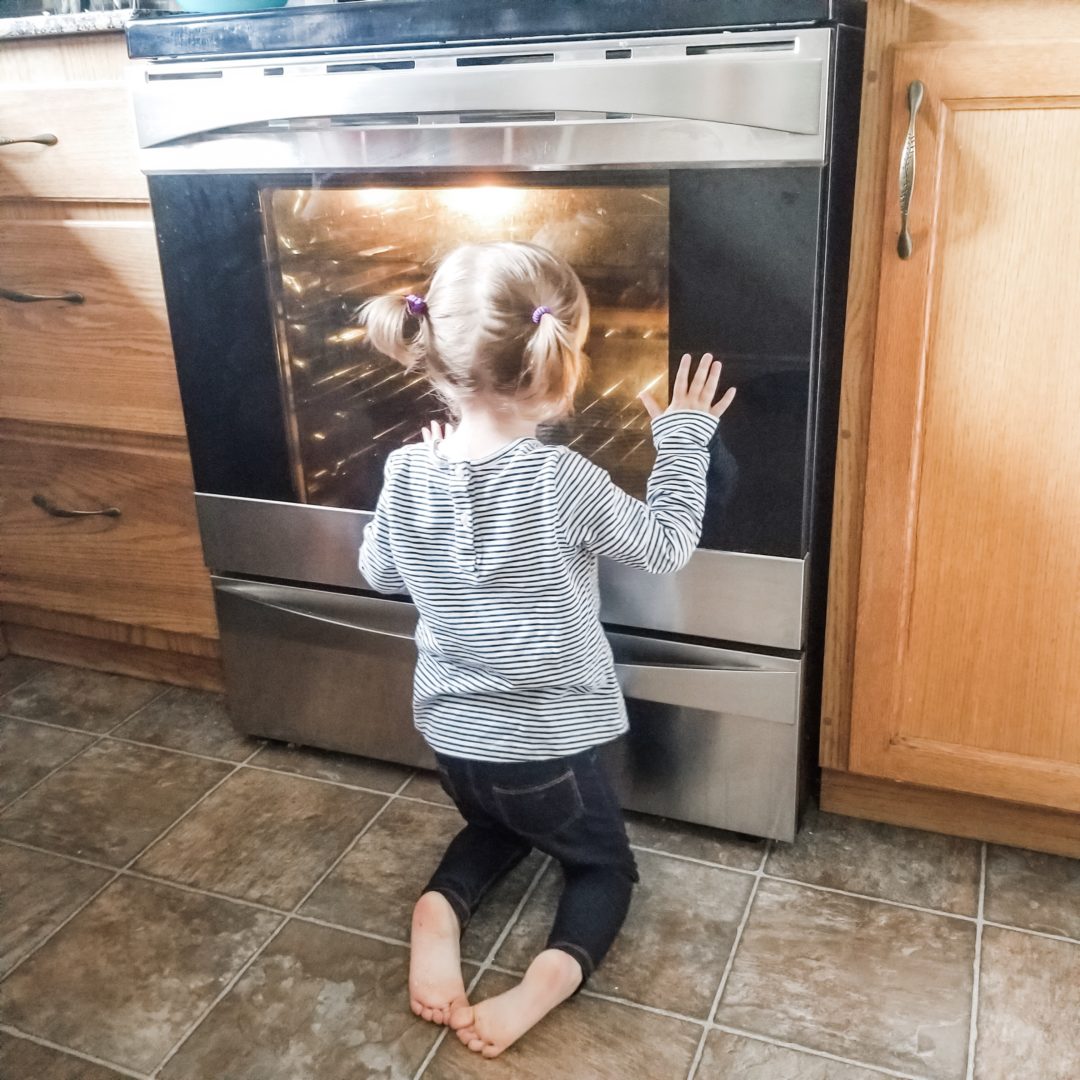
6. Bake for 14-18 minutes until the cookies start to brown around the edges. The cookies will still look raw and be soft, but TRUST ME, they will firm up as they cool. I’ve ruined batches by cooking longer than needed thinking they weren’t ready, only to find that when they cool they’re overdone and too dry.
Let me know how you get on with these cookies! They make a great desert alone or with ice cream, or as an after lunch treat in the school lunch boxes. Enjoy!
Roseanne is the blogger behind the honest and inspirational personal blog Roseanne Writes. Native to Scotland and now calling Canada home, Rosanne helps mothers navigate motherhood while remaining true to themselves. You learn more about Roseanne and follow her personal blog here.


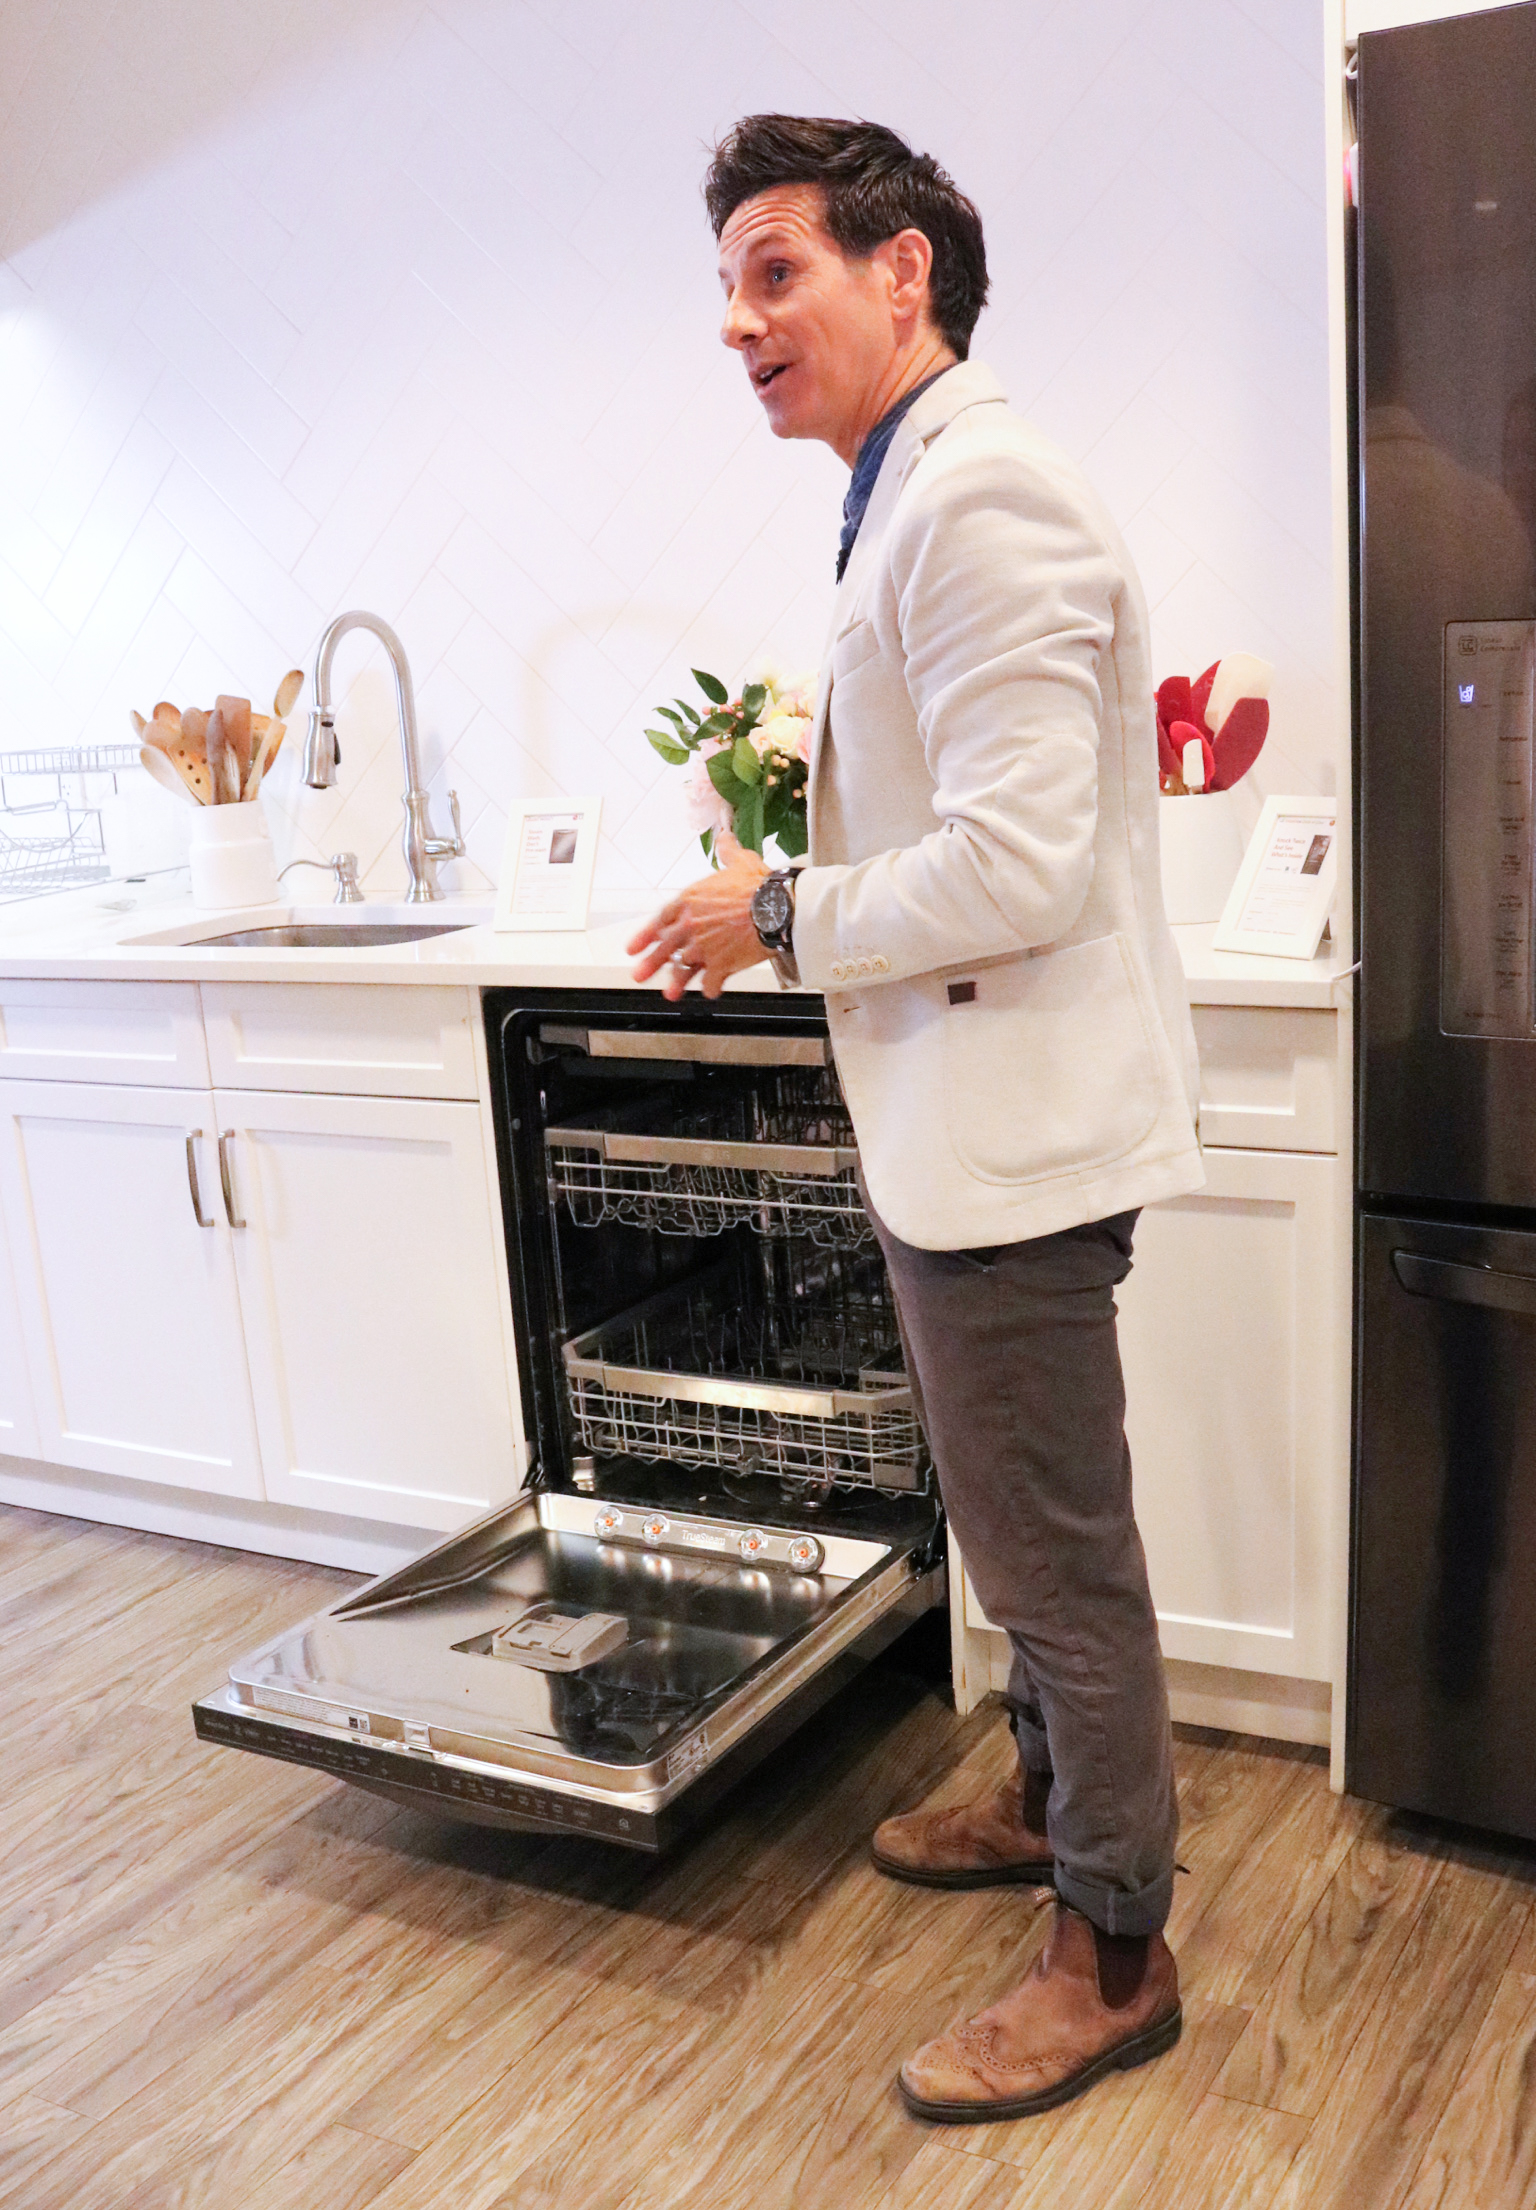
 This post was created in partnership with LG.
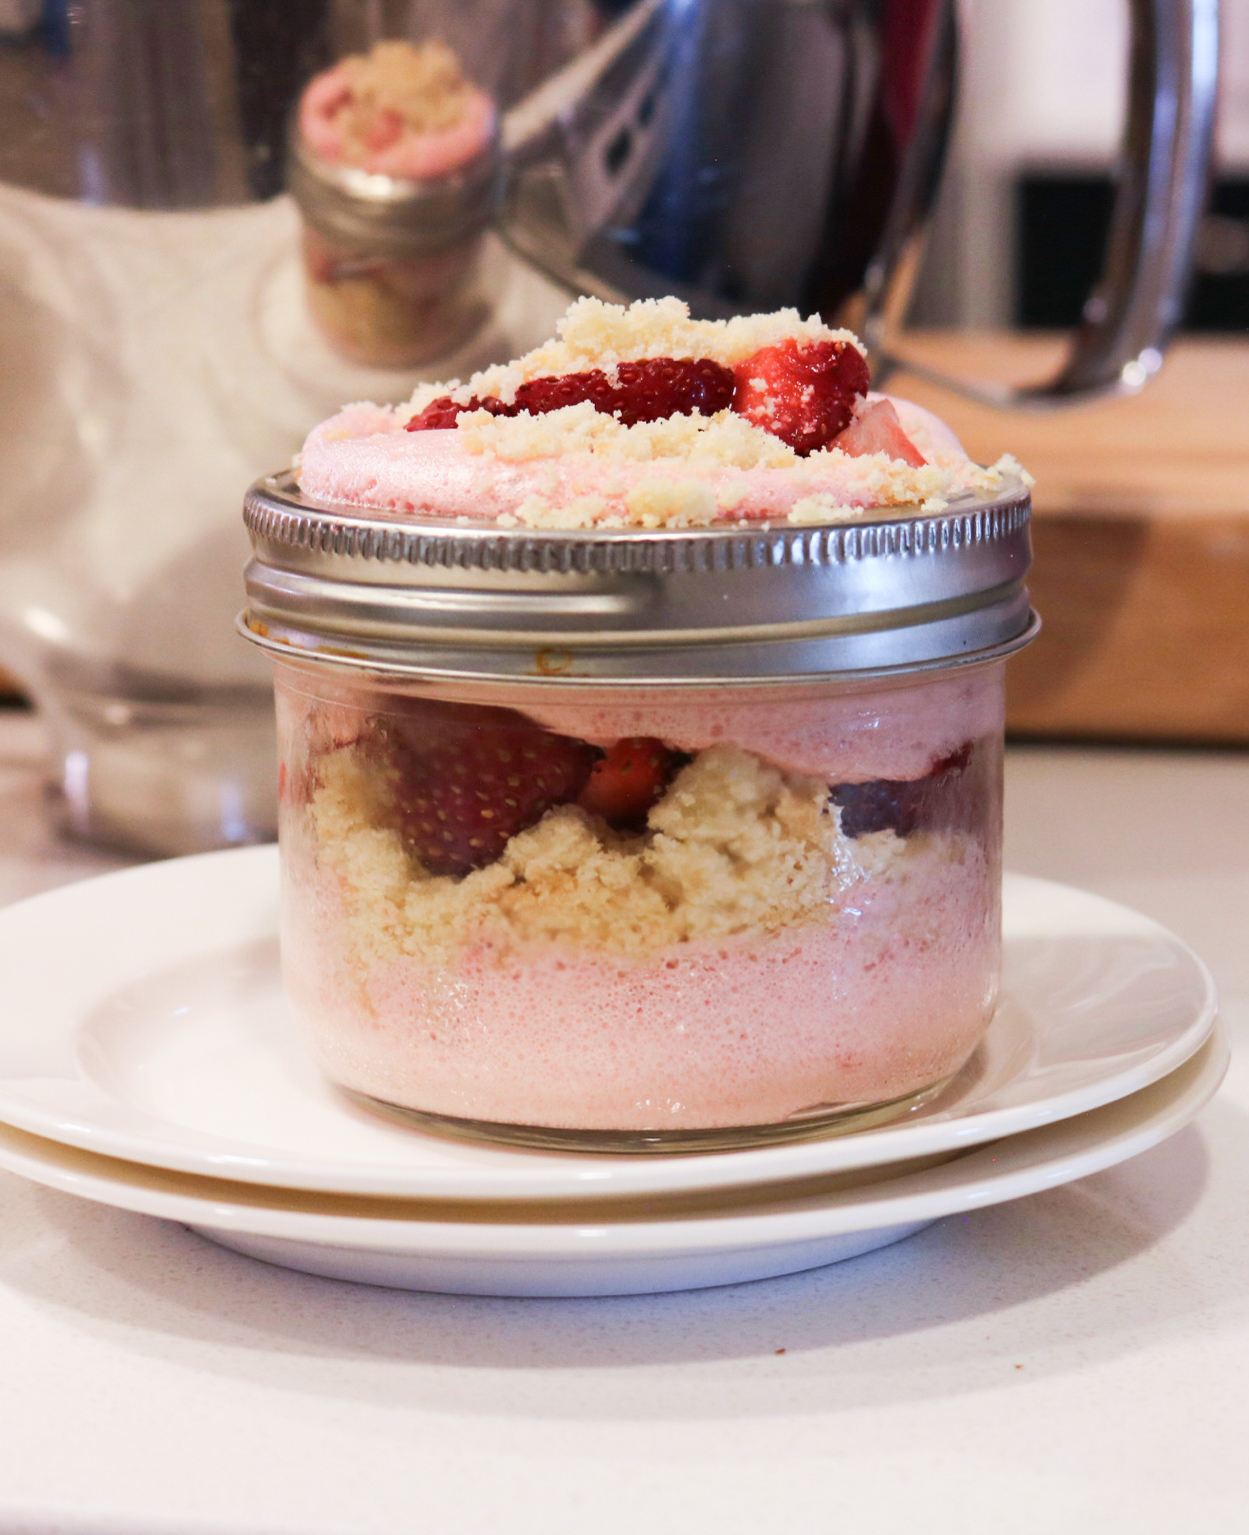
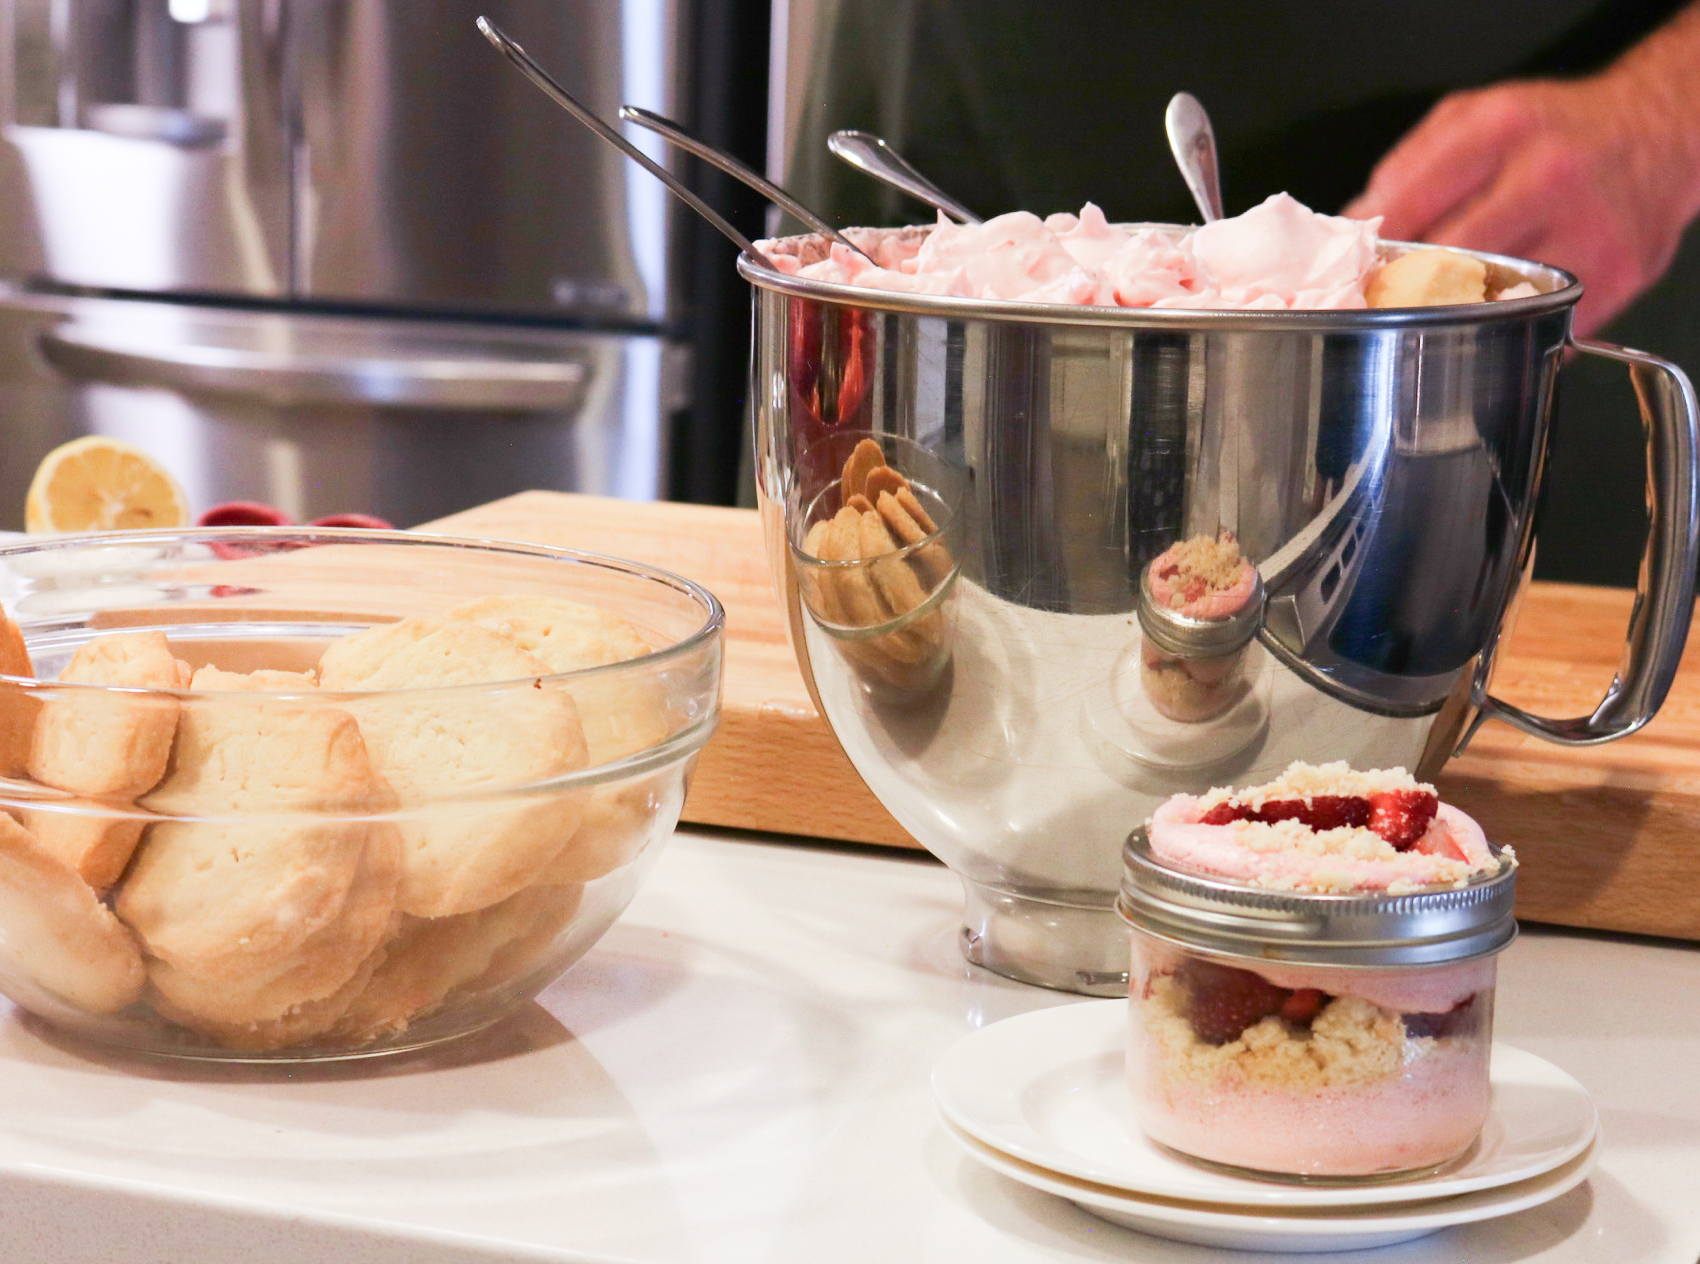
 baked Lake Erie Pickerel and Local Strawberry Fluff (I have shared the recipe with you below), I was able to take a sneak peek at LG’s InstaView™ Door-in-Door® Counter-Depth Refrigerator,