 I have pestered Mike for years to create our own real garland at Christmas. I have always loved the natural look but Mike would always say, “not this year, it’s too expensive”. When we had our annual tree cutting day our baby girls were sick so I had to sit this one out while Mike and our older kids went. After proudly showing me our perfect Christmas tree he picked out, Mike surprised me with a bundle of cedar for me to go crafty crazy with. I was all pumped and ready to get going when I realized I didn’t have a clue what I was doing. I literally just stood there, daunted, staring at this lump of branches picturing exactly what I want the end product to look like and puzzled how I would get from here to there.
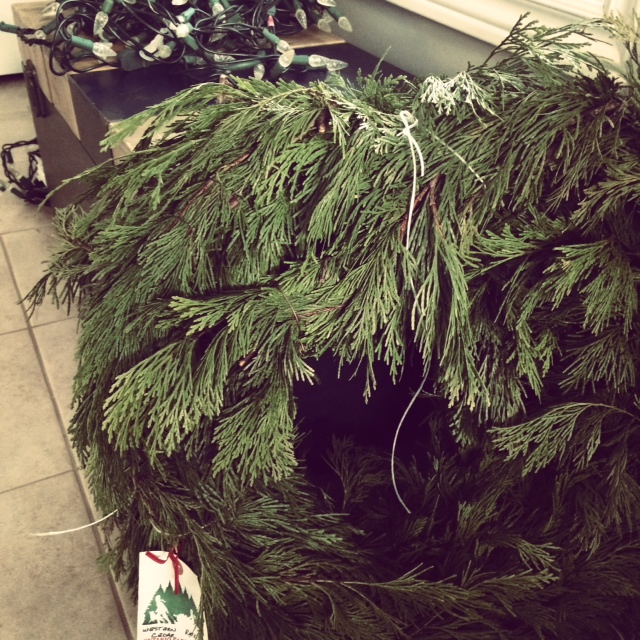
So I jumped on my I Pad and started searching for instructions. Surprisingly there was not a whole lot of information out there on how to create real cedar garland. One piece of advice I found on more than one site was how to prepare the branches before getting started to give them a longer life; soak them over night. Okay, I thought, lets do this! As soon as the last of our kids were finally in bed I hauled the bundle upstairs to our bathroom, started running the water in our big tub ready to give this cedar the full spa treatment. With gardening gloves on and clippers in hand I snapped the twine holding the bundle together. To my surprise out rolled pre-made cedar garland!
The inner crafty gal in me was totally disappointed feeling robbed of an opportunity to learn something new. On the other hand the logical side of me was relieved, knowing I have enough on my plate with four kids including infant twins with head colds to boot without taking on this task. I ran downstairs calling out to Mike to tell him that its pre-made garland, not just bundled up branches. “Ya, I know,” replied Mike with a puzzled look on his face. “Wait,” I said, “why did you let me drag our family out to the store to buy wire and come in to fill the tub?” He replied saying “I thought you knew and the whole time I was a bit confused but I thought I’d keep my mouth shut and you knew what you were doing”. This reply put a HUGE smile on my face because anyone who knows Mike knows he is very smart, knows a lot about everything and loves to put his two cents in whenever he can. So for him to take a back seat is a big deal!
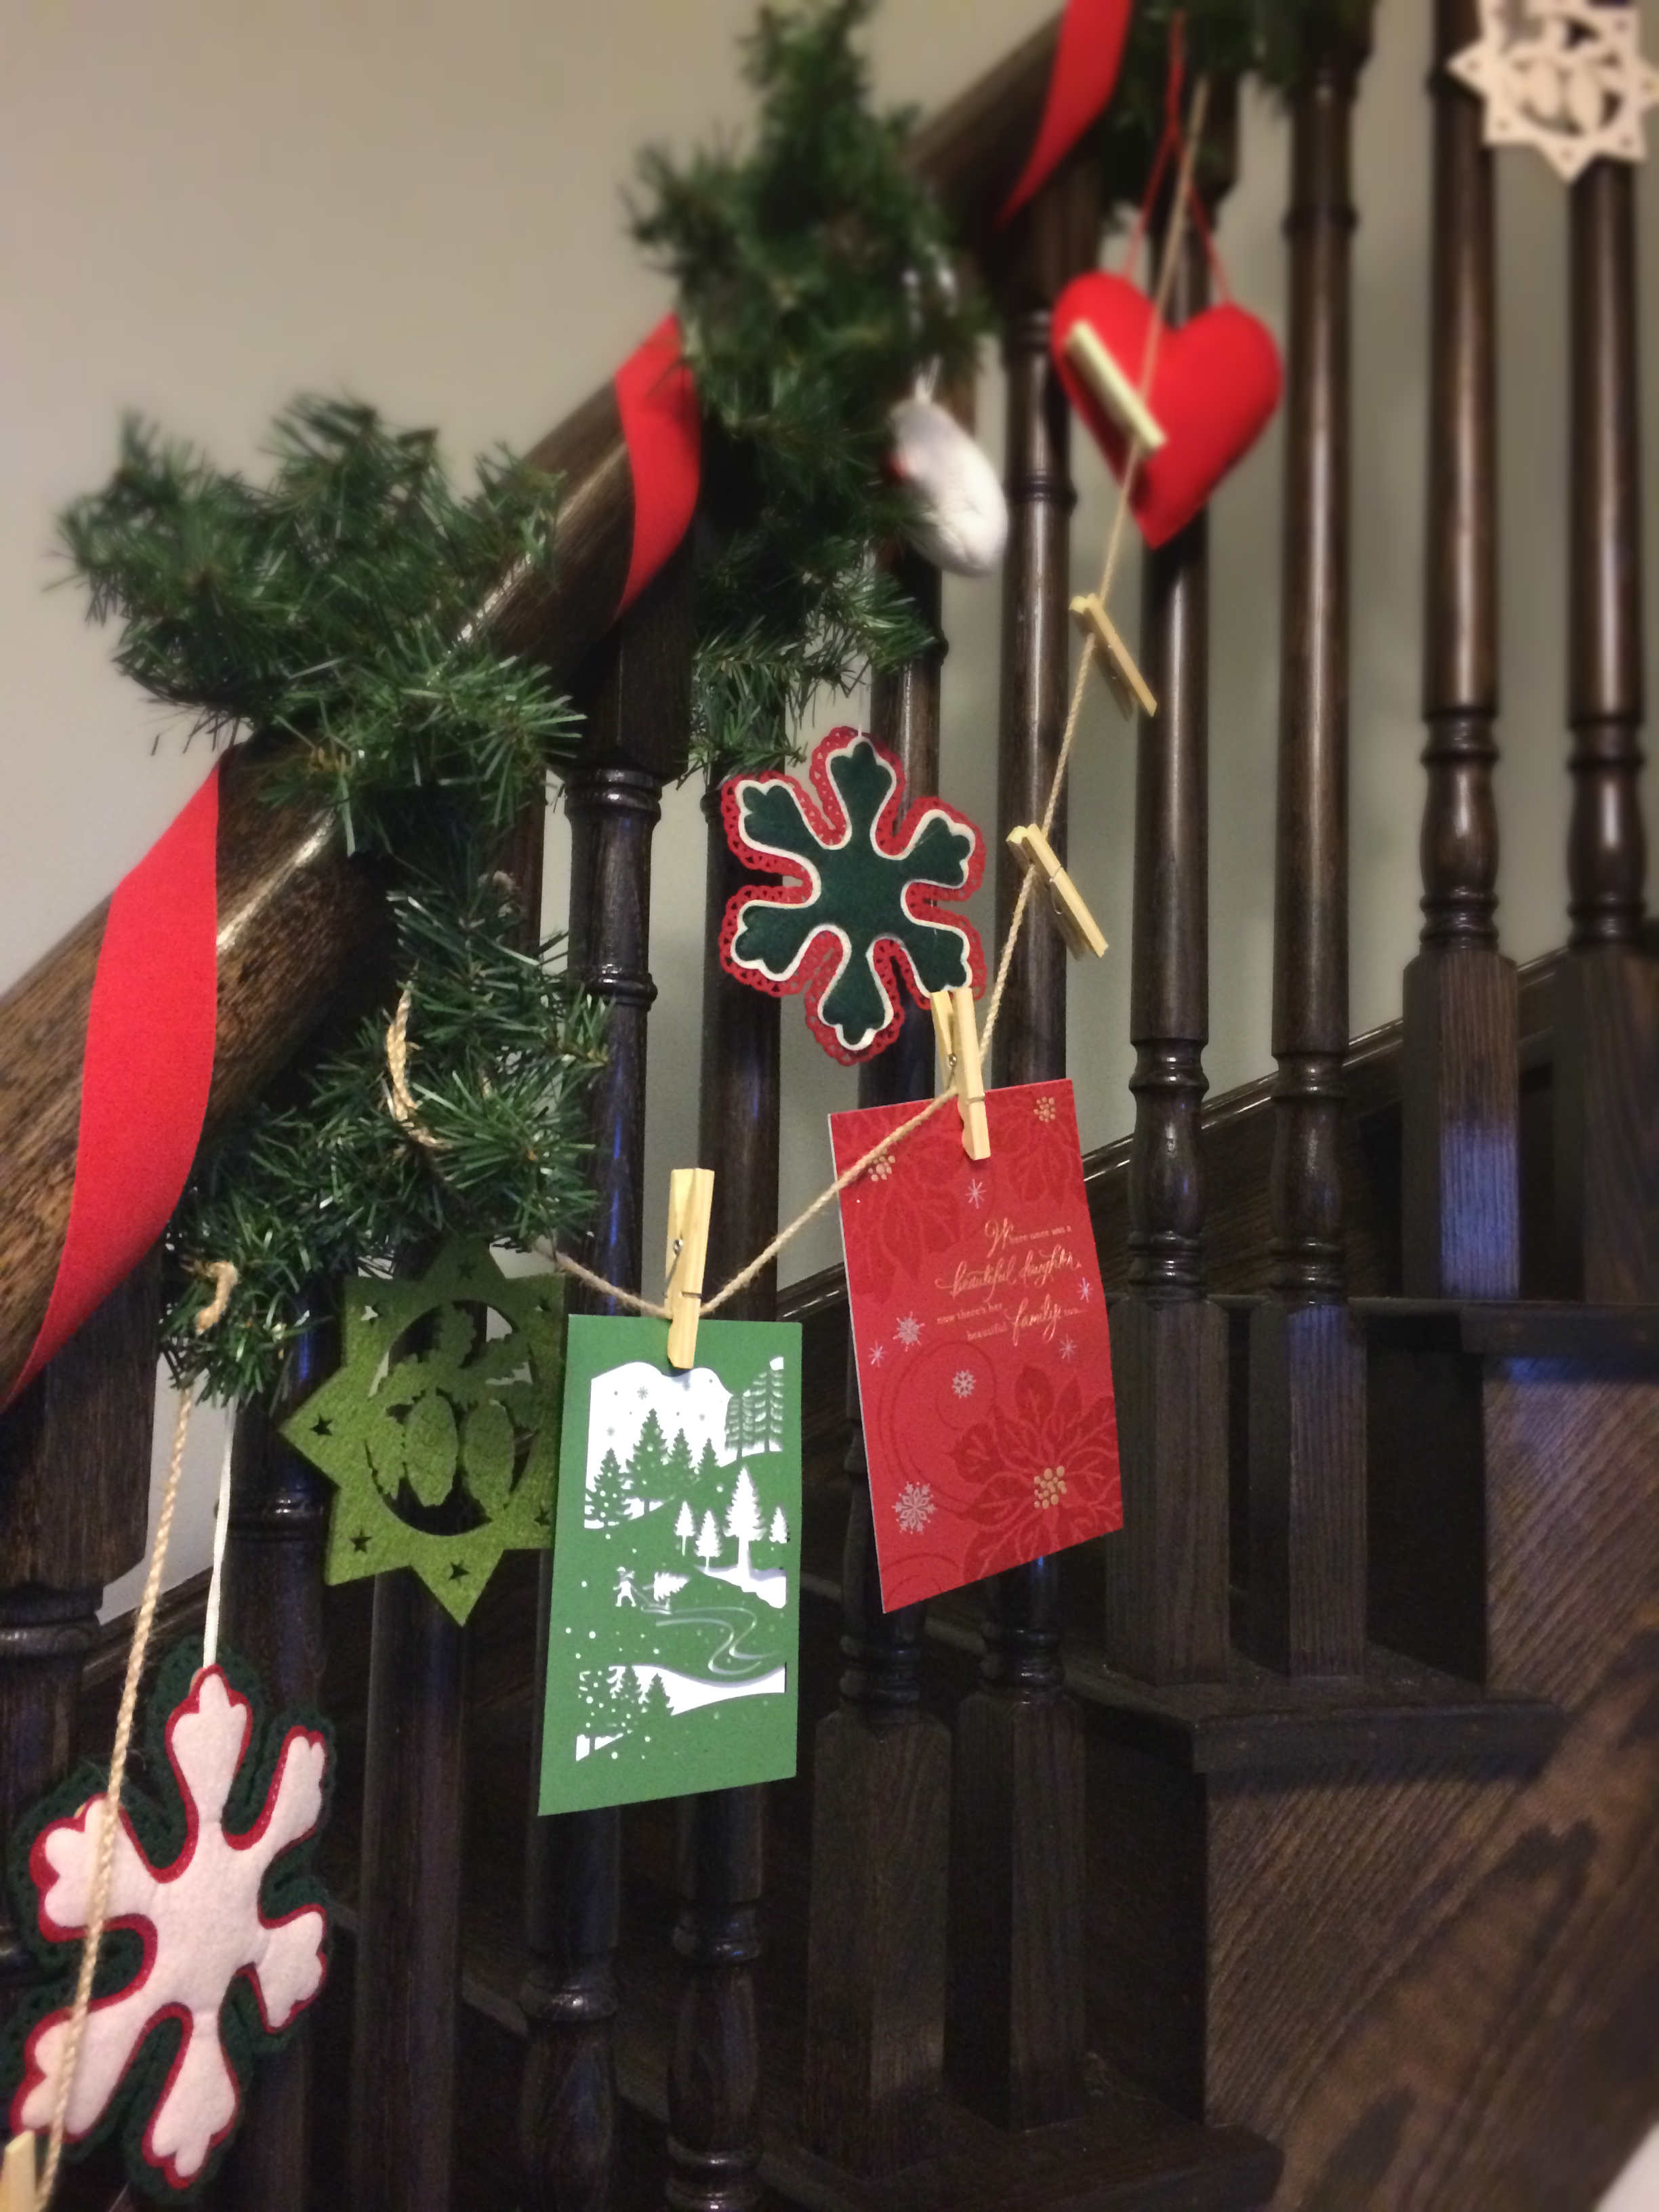
Now I am able to share with all of you how the pros do it! The key is to take a long piece of twine and run it the length of the entire garland hiding it in the middle of the branches. 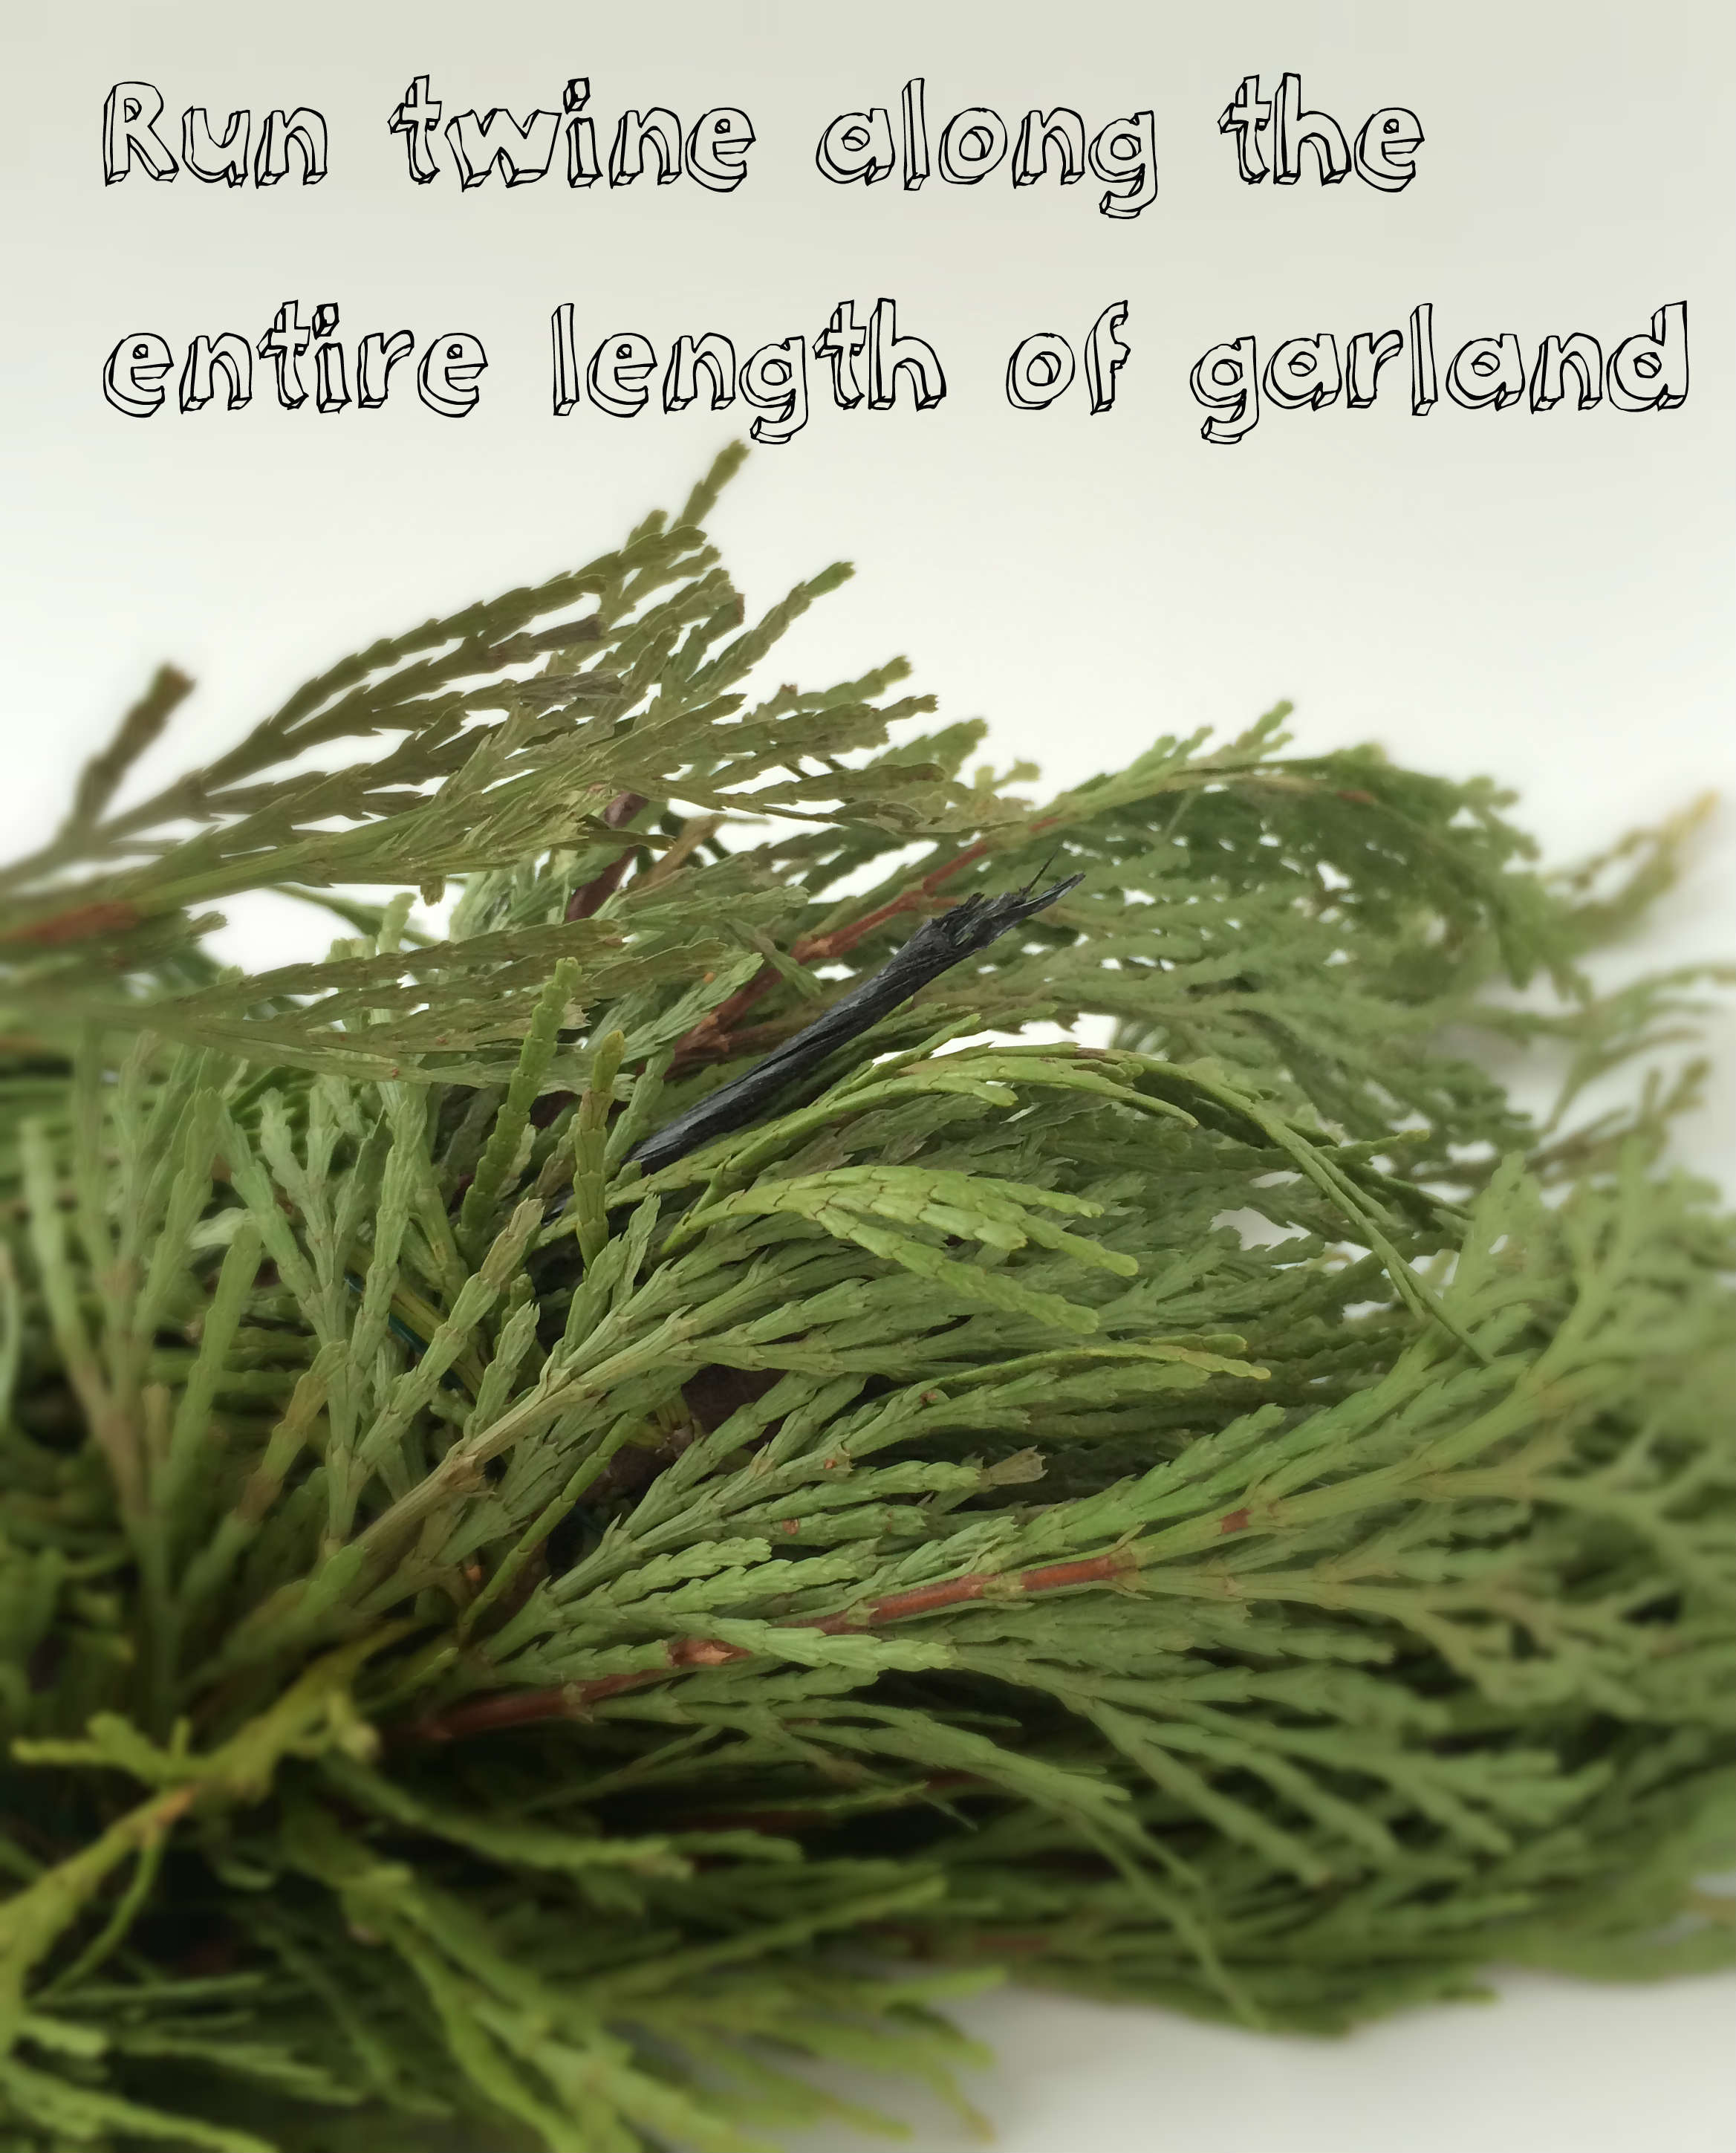 Then take a thin piece of wire and wind it along the whole length of garland branches while leaving as much of the greenery as loose as possible.

There you have it, your own real cedar garland. Spritz the garland once a day with water to keep it from drying. I was able to get two good weeks out of ours before it started shedding and our kids were tracking bits all over our house. So plan your cedar garland timing well. Next year my plan is to add extra branches to beef it up a little, possibly adding a variety of evergreen species. The best part: THE INCREDIBLE SMELL!!! Nothing beats that woody, festive smell of cedar!